Hardening the UI Access
Web Server Certificate (SSL)
The platform is shipped with a self-signed certificate, TLS v1.2.
Certificate Requirements
A Java Keystore (JKS) contains a public certificate and its private key.
The JKS must have a store password and a key password.
The JKS name must match the "Certificate Path" setting within the platform's web console settings.
Applying the Certificate
Place your custom
.jksfile in the following folder, respectively:Windows →
C:\ZigiWave\ZigiOps\webapp\keystoreLinux →
/opt/zigiwave/zigiops/webapp/keystore
Update the platform's web console settings with the certificate's details.
Certificate Path – this is the certificate's file location, for example,
keystore/custom_webapp_keystore.jks.Certificate Key Password – this is the certificate's key password.
Certificate Key Manager Password – this is the certificate's key manager password.
Restart the webapp’s service.
Close any opened browser sessions to the ZigiOps web console and relogin.
Listener Certificate (SSL)
The platform is shipped with a self-signed listener certificate, TLS v1.2.
Certificate Requirements
A Java Keystore (JKS) containing both a public certificate and its private key.
The JKS must have a store password and a key password.
The JKS name must match the "Certificate Path" setting within the platform's listener settings.
Applying the Certificate
Place your custom
.jksfile in the following folder, respectively:Windows →
C:\ZigiWave\ZigiOps\platform\keystoreLinux →
/opt/zigiwave/zigiops/platform/keystore
Update the platform's listener settings with the listener certificate's details.
Certificate Path – this is the listener certificate's file location, for example,
keystore/custom_listener_keystore.jks.Certificate Key Password – this is the listener certificate's key password.
Certificate Key Manager Password – this is the listener certificate's key manager password.
Restart the platform's service.
Close any opened browser sessions to the ZigiOps web console and relogin.
IP Whitelist
The platform supports whitelisting by IP address. This is an optional addition to the hardening process to prevent unwanted access to the ZigiOps UI by only allowing addresses to log in.
How to configure and enable IP Whitelist
The IP whitelisting is disabled by default. Follow the steps below to configure and enable it.
Open the
config.propertiesfile in any text editor.Windows →
C:\ZigiWave\ZigiOps\platform\conf\config.propertiesLinux →
/opt/zigiwave/zigiops/conf/platform/config.properties
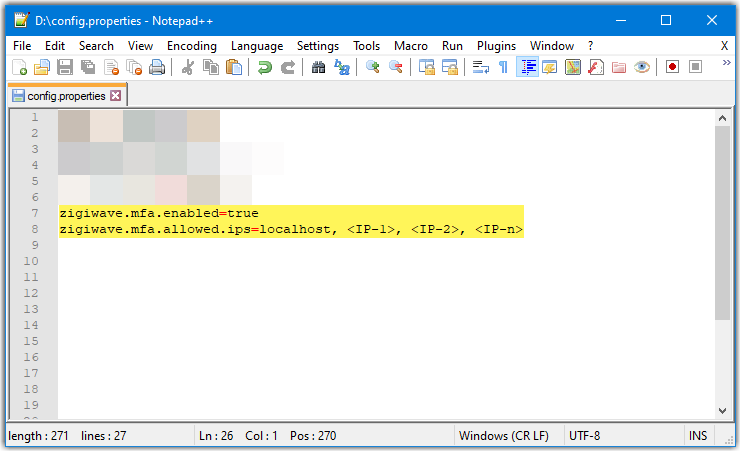
Add the below properties on a new line at the end of the file.
CODEzigiwave.mfa.enabled=true zigiwave.mfa.allowed.ips=localhost, <IP-1>, <IP-2>, <IP-n>
Save the changes and restart the ZigiOps service.
IP Whitelist Parameters Summary
Please note that the parameters are not included in the config.properties file by default, but they are applied with default values.
Parameter | Details | Possible Value(s) |
|---|---|---|
zigiwave.mfa.enabled | The property that controls if the MFA will be enabled or not. | true/false |
zigiwave.mfa.allowed.ips | This list of addresses allowed to log in to the ZigiOps UI. The value should be comma-separated, e.g., localhost, 10.1.1.1, 10.1.1.2 .. etc. | localhost/<IP> |
How to disable IP Whitelist
Follow the steps below to disable the whitelisting by IP.
Open the
config.propertiesfile in any text editor.Windows →
C:\ZigiWave\ZigiOps\platform\conf\config.propertiesLinux →
/opt/zigiwave/zigiops/conf/platform/config.properties
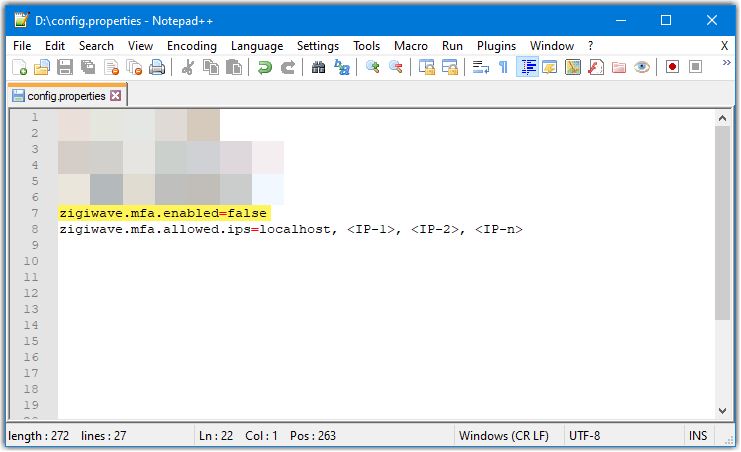
Set the
zigiwave.mfa.enabledparameter tofalse.
Save the changes and restart the ZigiOps service.
