Systems
Why does ZigiOps need a System?
A System is a configuration object containing the connection details about a product you want to integrate. The Systems page is a repository of all system instances in your current ZigiOps instance. Each system requires a set of configuration details, such as URL, port, username, and password. The configuration of the different systems varies.
Adding a System
Navigate to Systems, which will display the list of available systems.
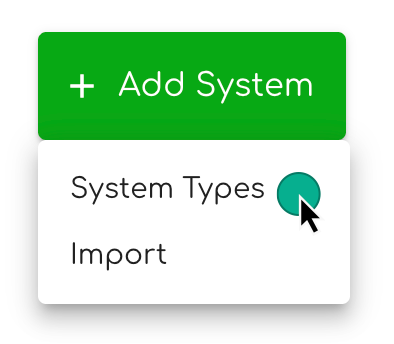
Click the Add System → System Types button and select the desired system.
Input the required connection and authentication details and click the Save button.
Removing a System
Navigate to Systems, which will display the list of available systems.
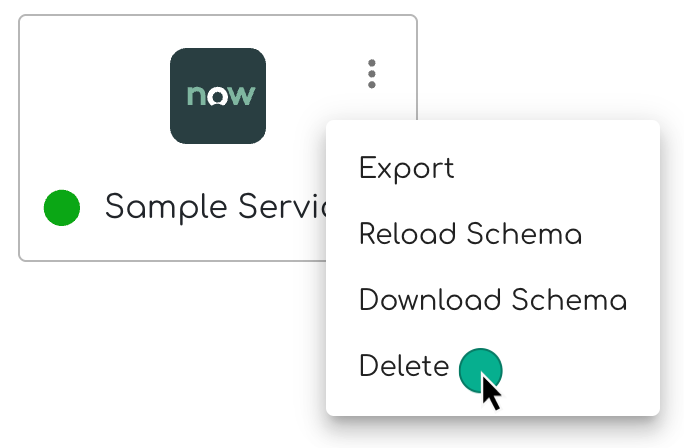
Click the Options → Delete of a System to remove it from your ZigiOps instance.
Exporting a System
Navigate to Systems, which will display the list of available systems.
Click the Options → Export of a System to export its configuration as a configuration file. The system’s configuration file can serve as a backup or be imported into another ZigiOps instance.

Importing a System
Navigate to Systems, which will display the list of available systems.
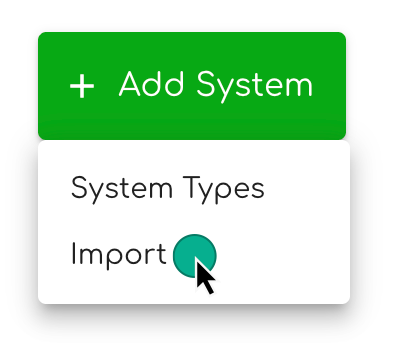
Click the Add System → Import button and select the desired system configuration file to import it to your ZigiOps instance.
Reloading a System Schema
Forces ZigiOps to discard the currently loaded schema and retrieve it again to detect new changes on the corresponding system instance, such as newly added custom fields.
Note that reloading the schema discards the locally stored schema files and requires the integration user to have sufficient permissions.
Navigate to Systems, which will display the list of available systems.
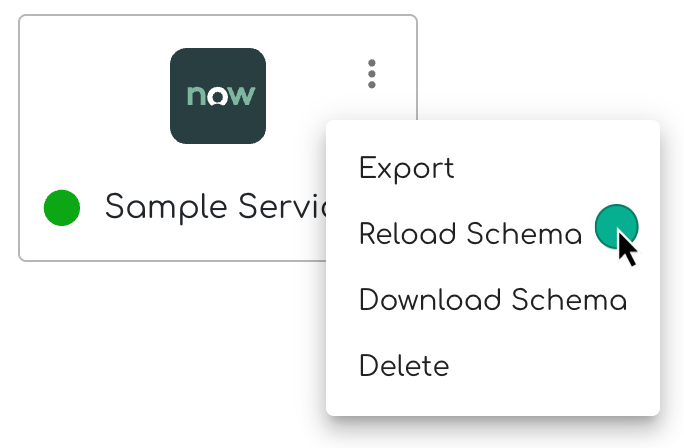
Click the Options → Reload Schema of a System to force reload (re-retrieve) its schema.
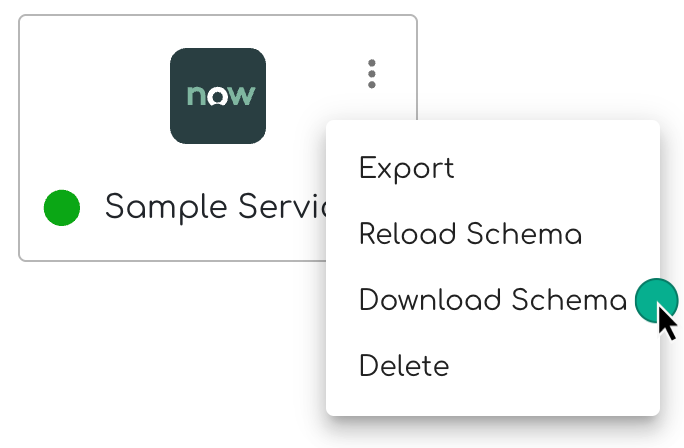
Downloading a System Schema
Downloads the system schema as a file for backup or troubleshooting purposes.
A copy of the schema is also available under the <ZigiOps>/conf/settings/schemes folder of each ZigiOps installation, introduced with the ZigiOps 2023.04.1.366 release.
Access the ZigiOps web console.
Navigate to Systems, which will display the list of available systems.
Click the Options → Reload Schema button to download the schema as a file.
Test Connection
Verifies connectivity and authentication against a System instance using the provided connection details.
Navigate to Systems, which will display the list of available systems.
Select the desired connected system and click the Test button to test the connection.