General Settings
Access
ZigiOps → Settings → General Settings
Restoring Defaults
If a setting is modified, you can restore it to its default value by selecting the corresponding field and clicking the Restore button.
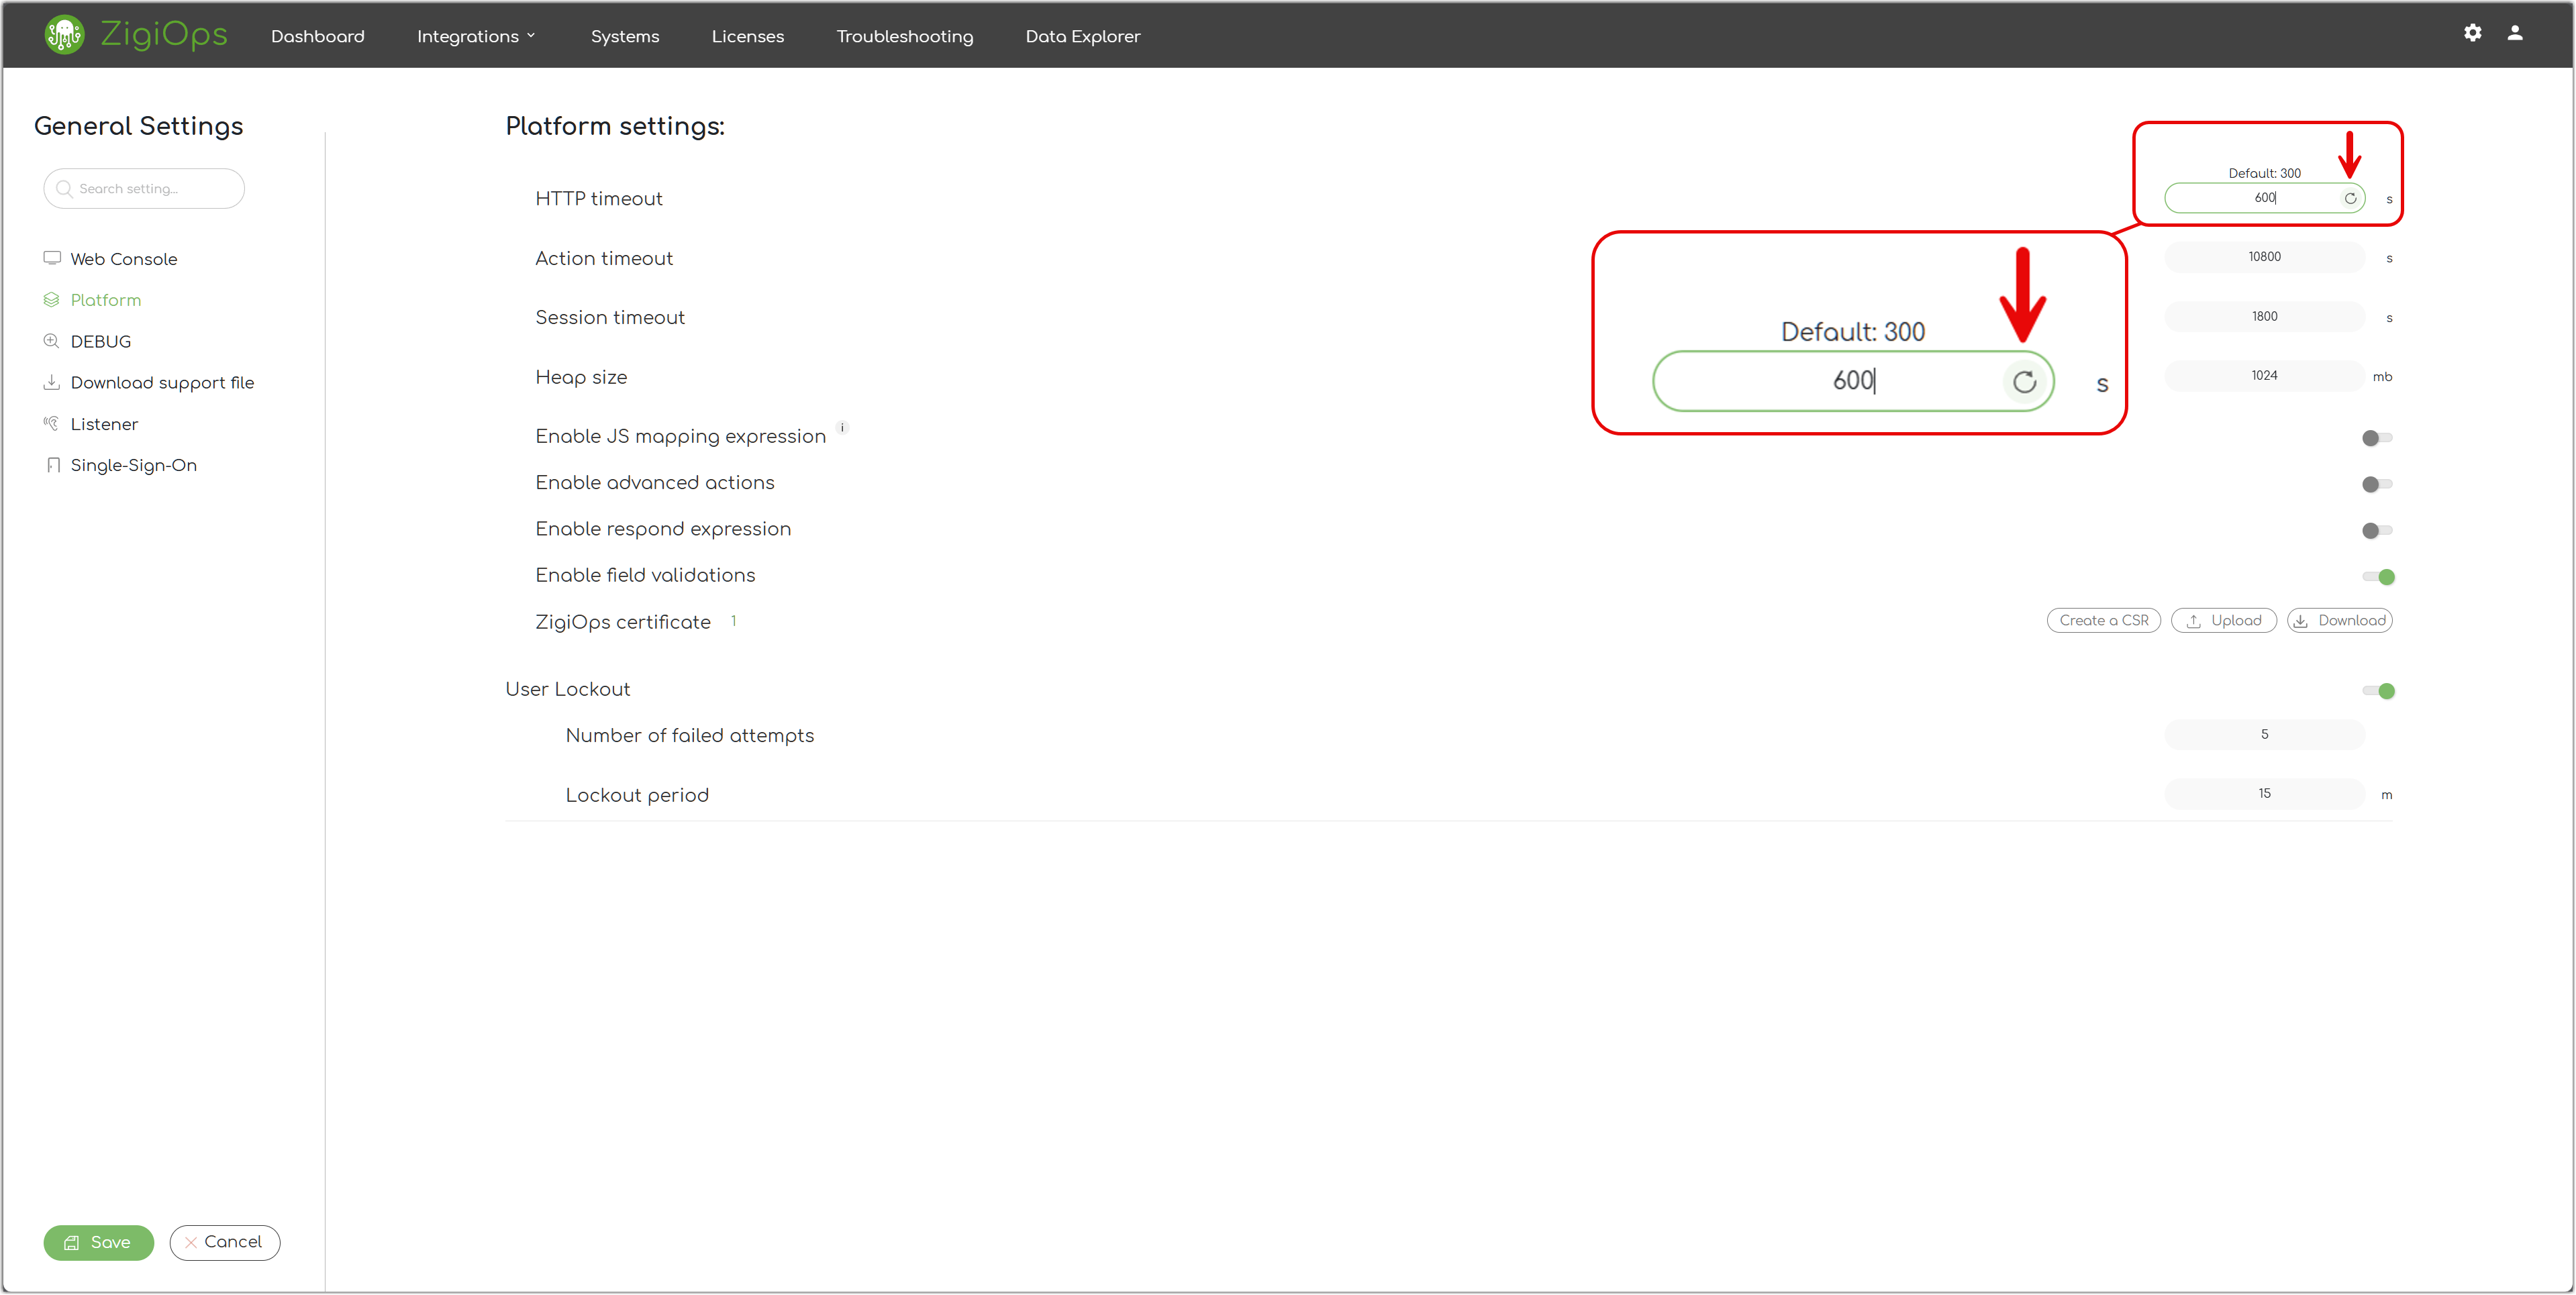
Web Console
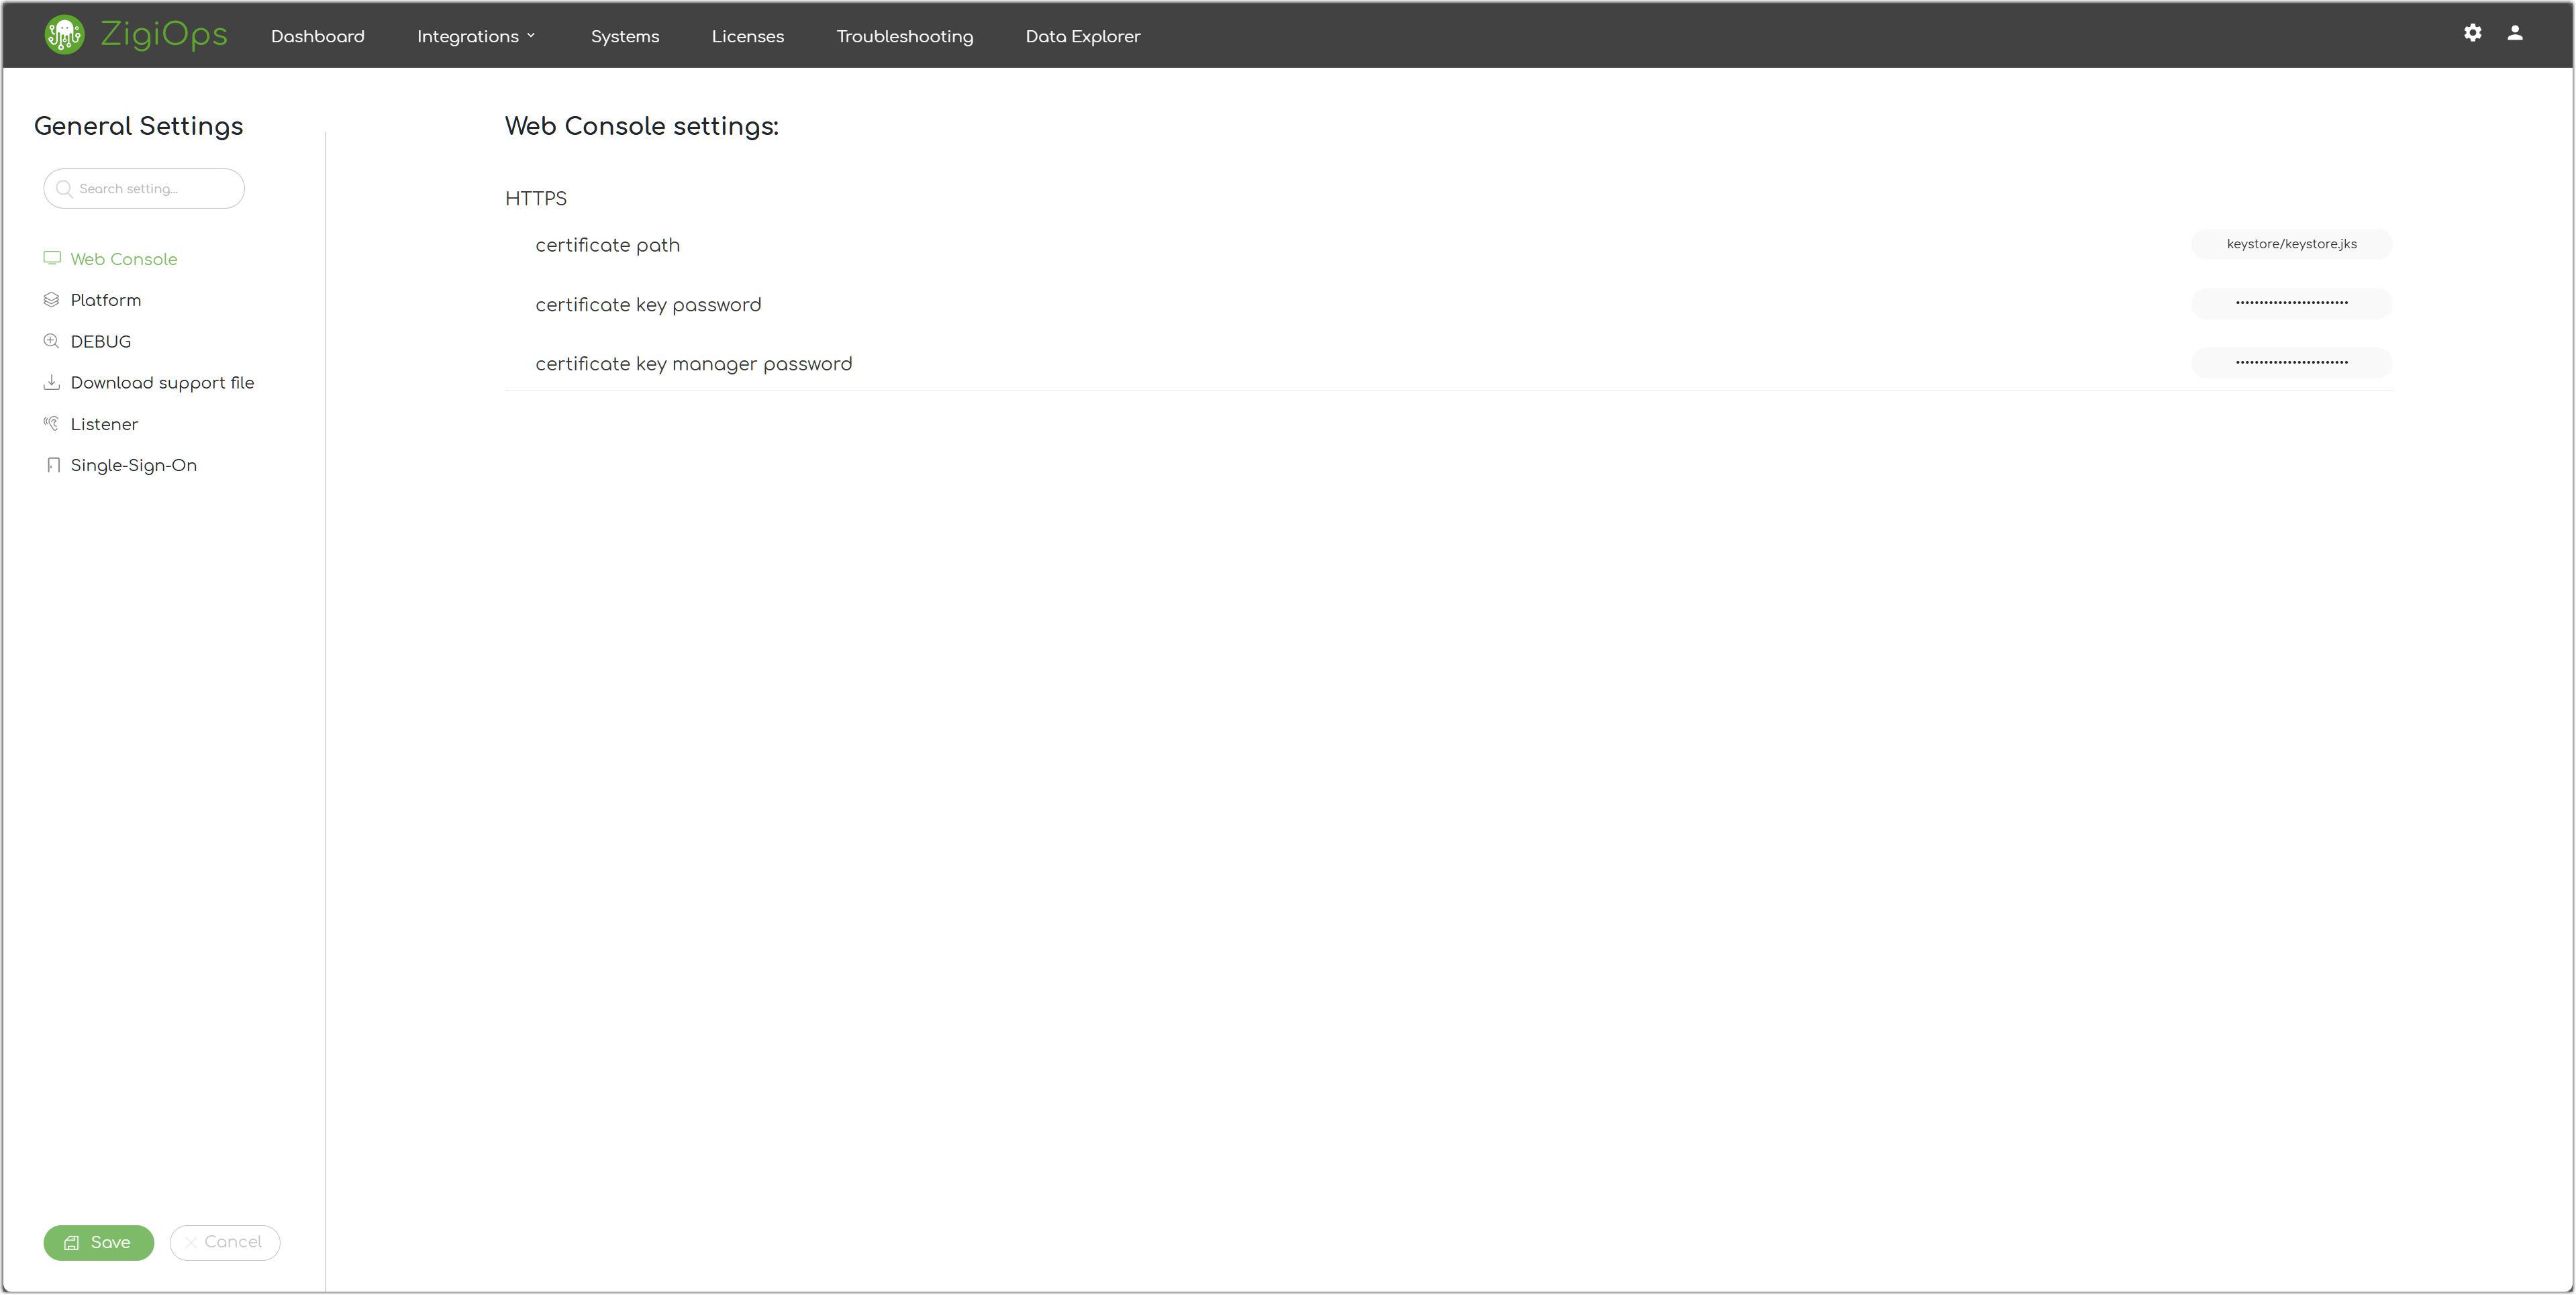
HTTPS
The default protocol used by the ZigiOps’ web console is HTTPS.
Certificate Path
The path to the default ZigiOps keystore file.
Certificate Key Password
The key password of the ZigiOps keystore.
Certificate Key Manager Password
The key manager password of the ZigiOps keystore.
Platform
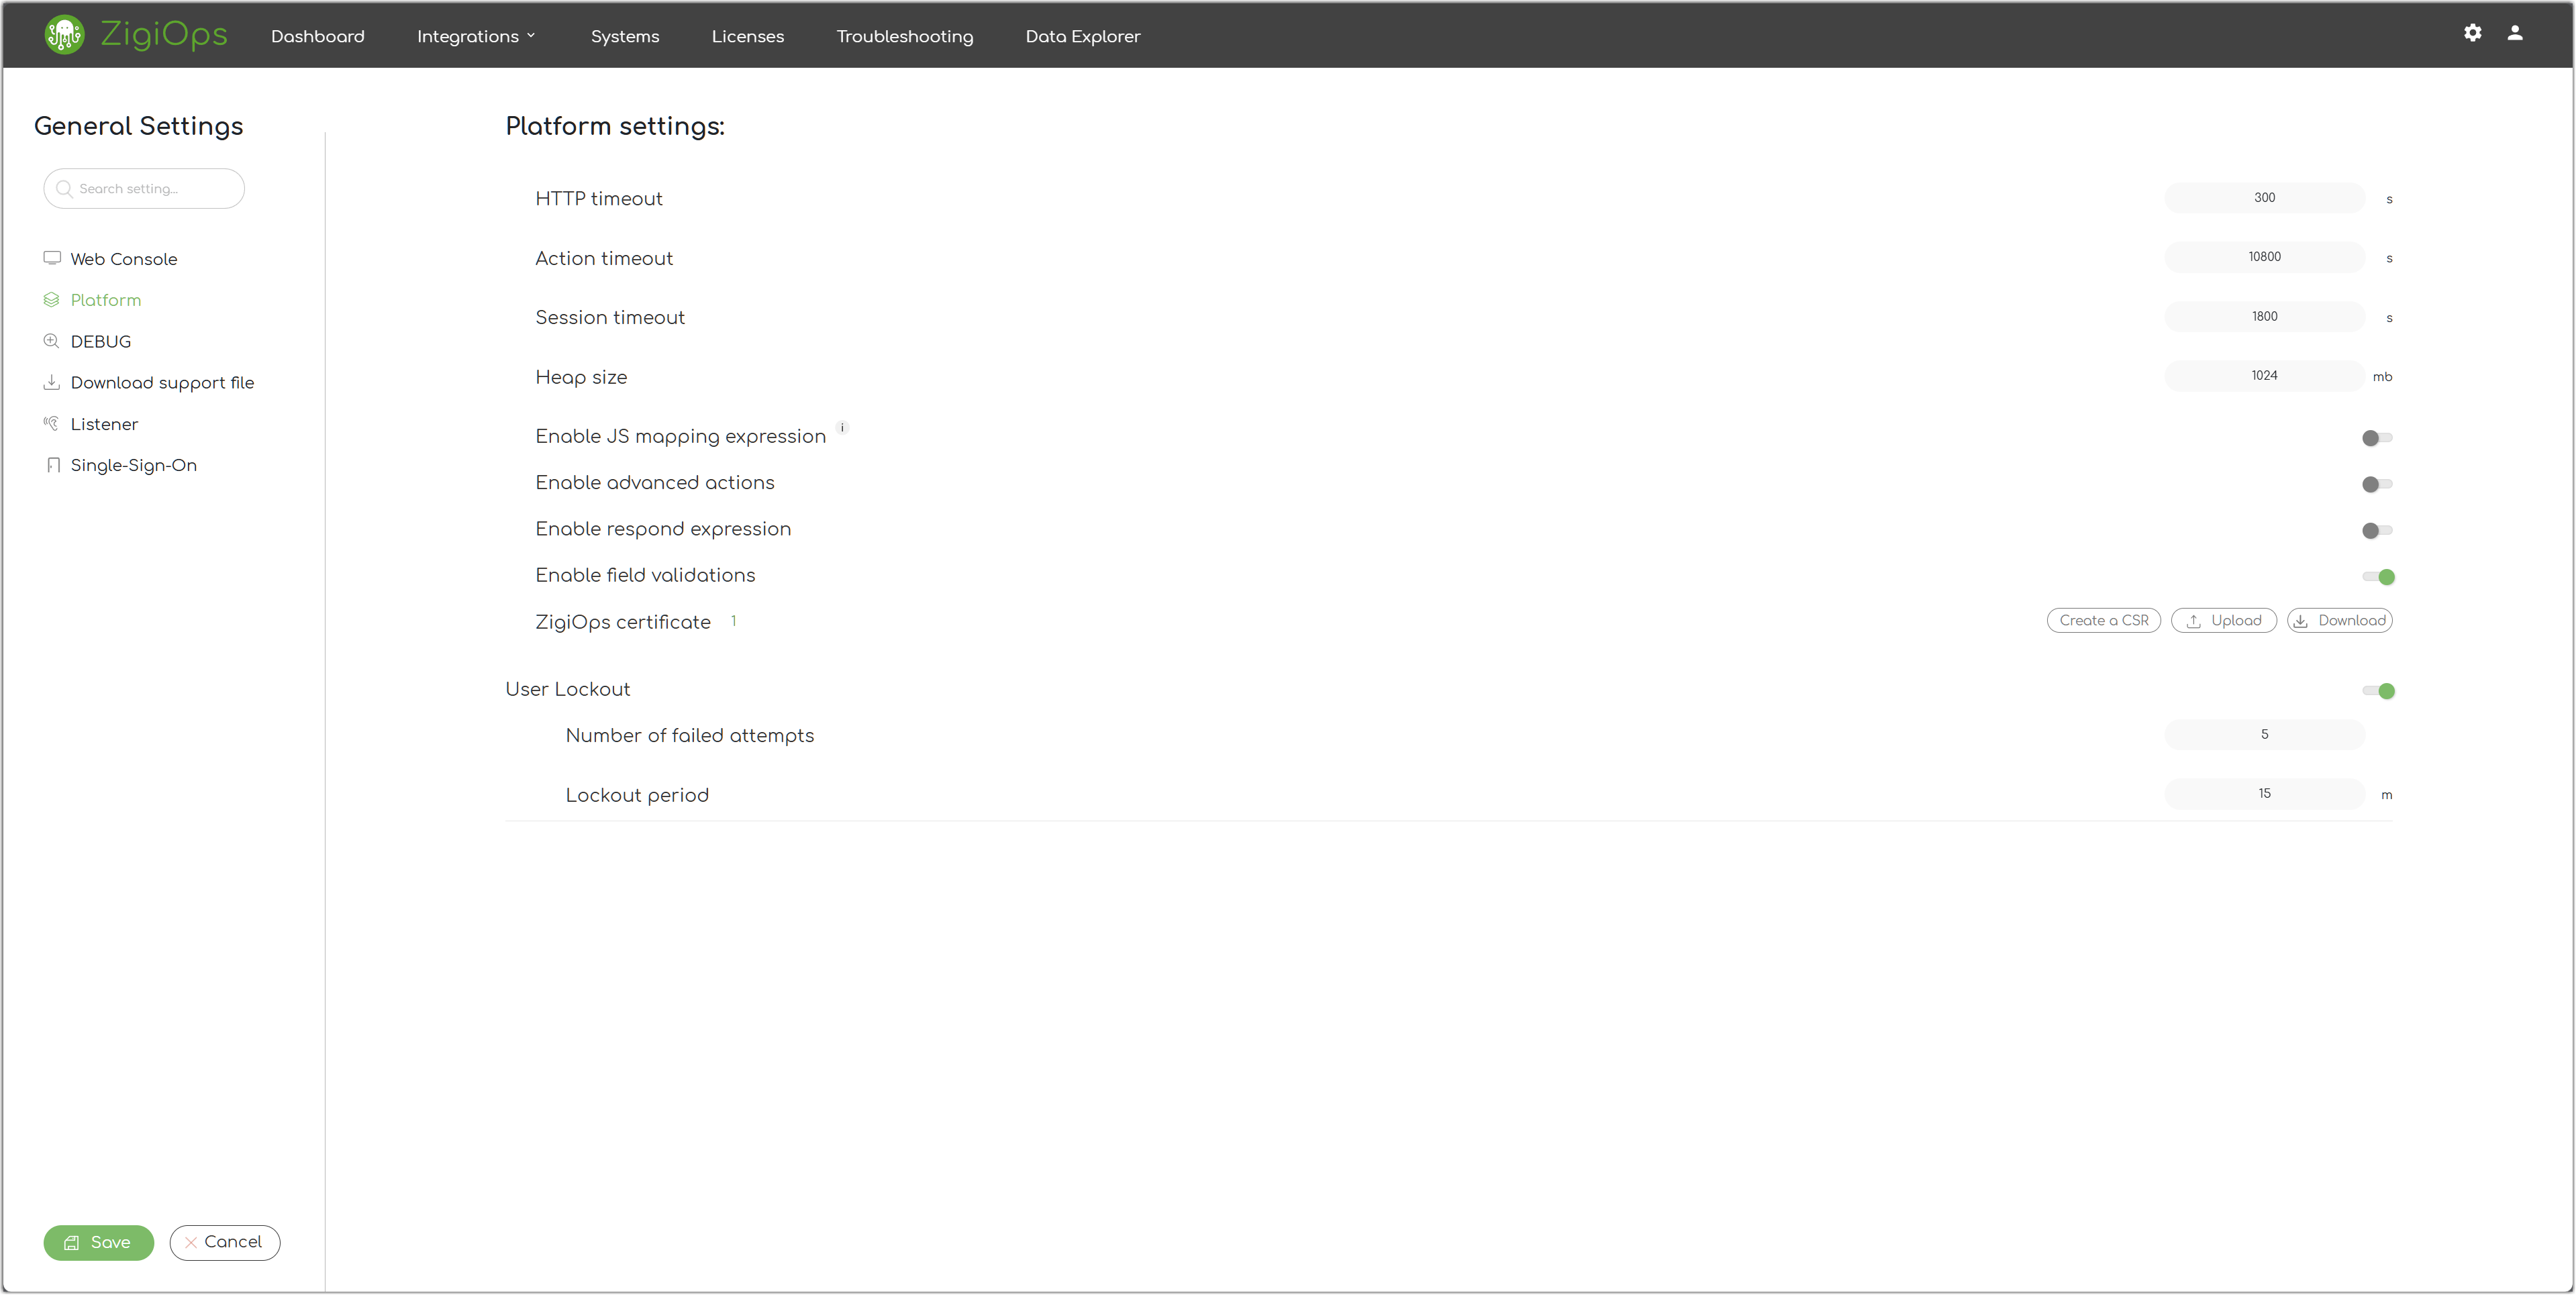
HTTP Timeout
That's the currently configured timeout of the HTTP requests sent by ZigiOps to the integrated systems.
Action Timeout
That's the currently configured timeout of the integration actions.
Session Timeout
That's the currently configured timeout of the ZigiOps web console sessions.
Heap Size
That's the currently allowed Java Heap Size that ZigiOps can use.
Enable JS Mapping Expression
That's the current state of the JS Mapping Expression feature which is disabled by default.
Enable Advanced Actions
That's the current state of the Advanced Actions feature which is disabled by default.
Enable Respond Expression
That's the current state of the Respond Expression feature which is disabled by default.
Enable Field Validations
That's the current state of the Field Validations feature.
User Lockout
Enables or disables the platform's user lockout mechanism that locks out users who failed to authenticate a certain number of times.
Number of Failed Attempts
Specifies the number of failed logins attempts before the user is locked out.
Lockout Period
Specifies the period the user is locked out after a certain number of failed login attempts.
Debug
Collect HTTP Data
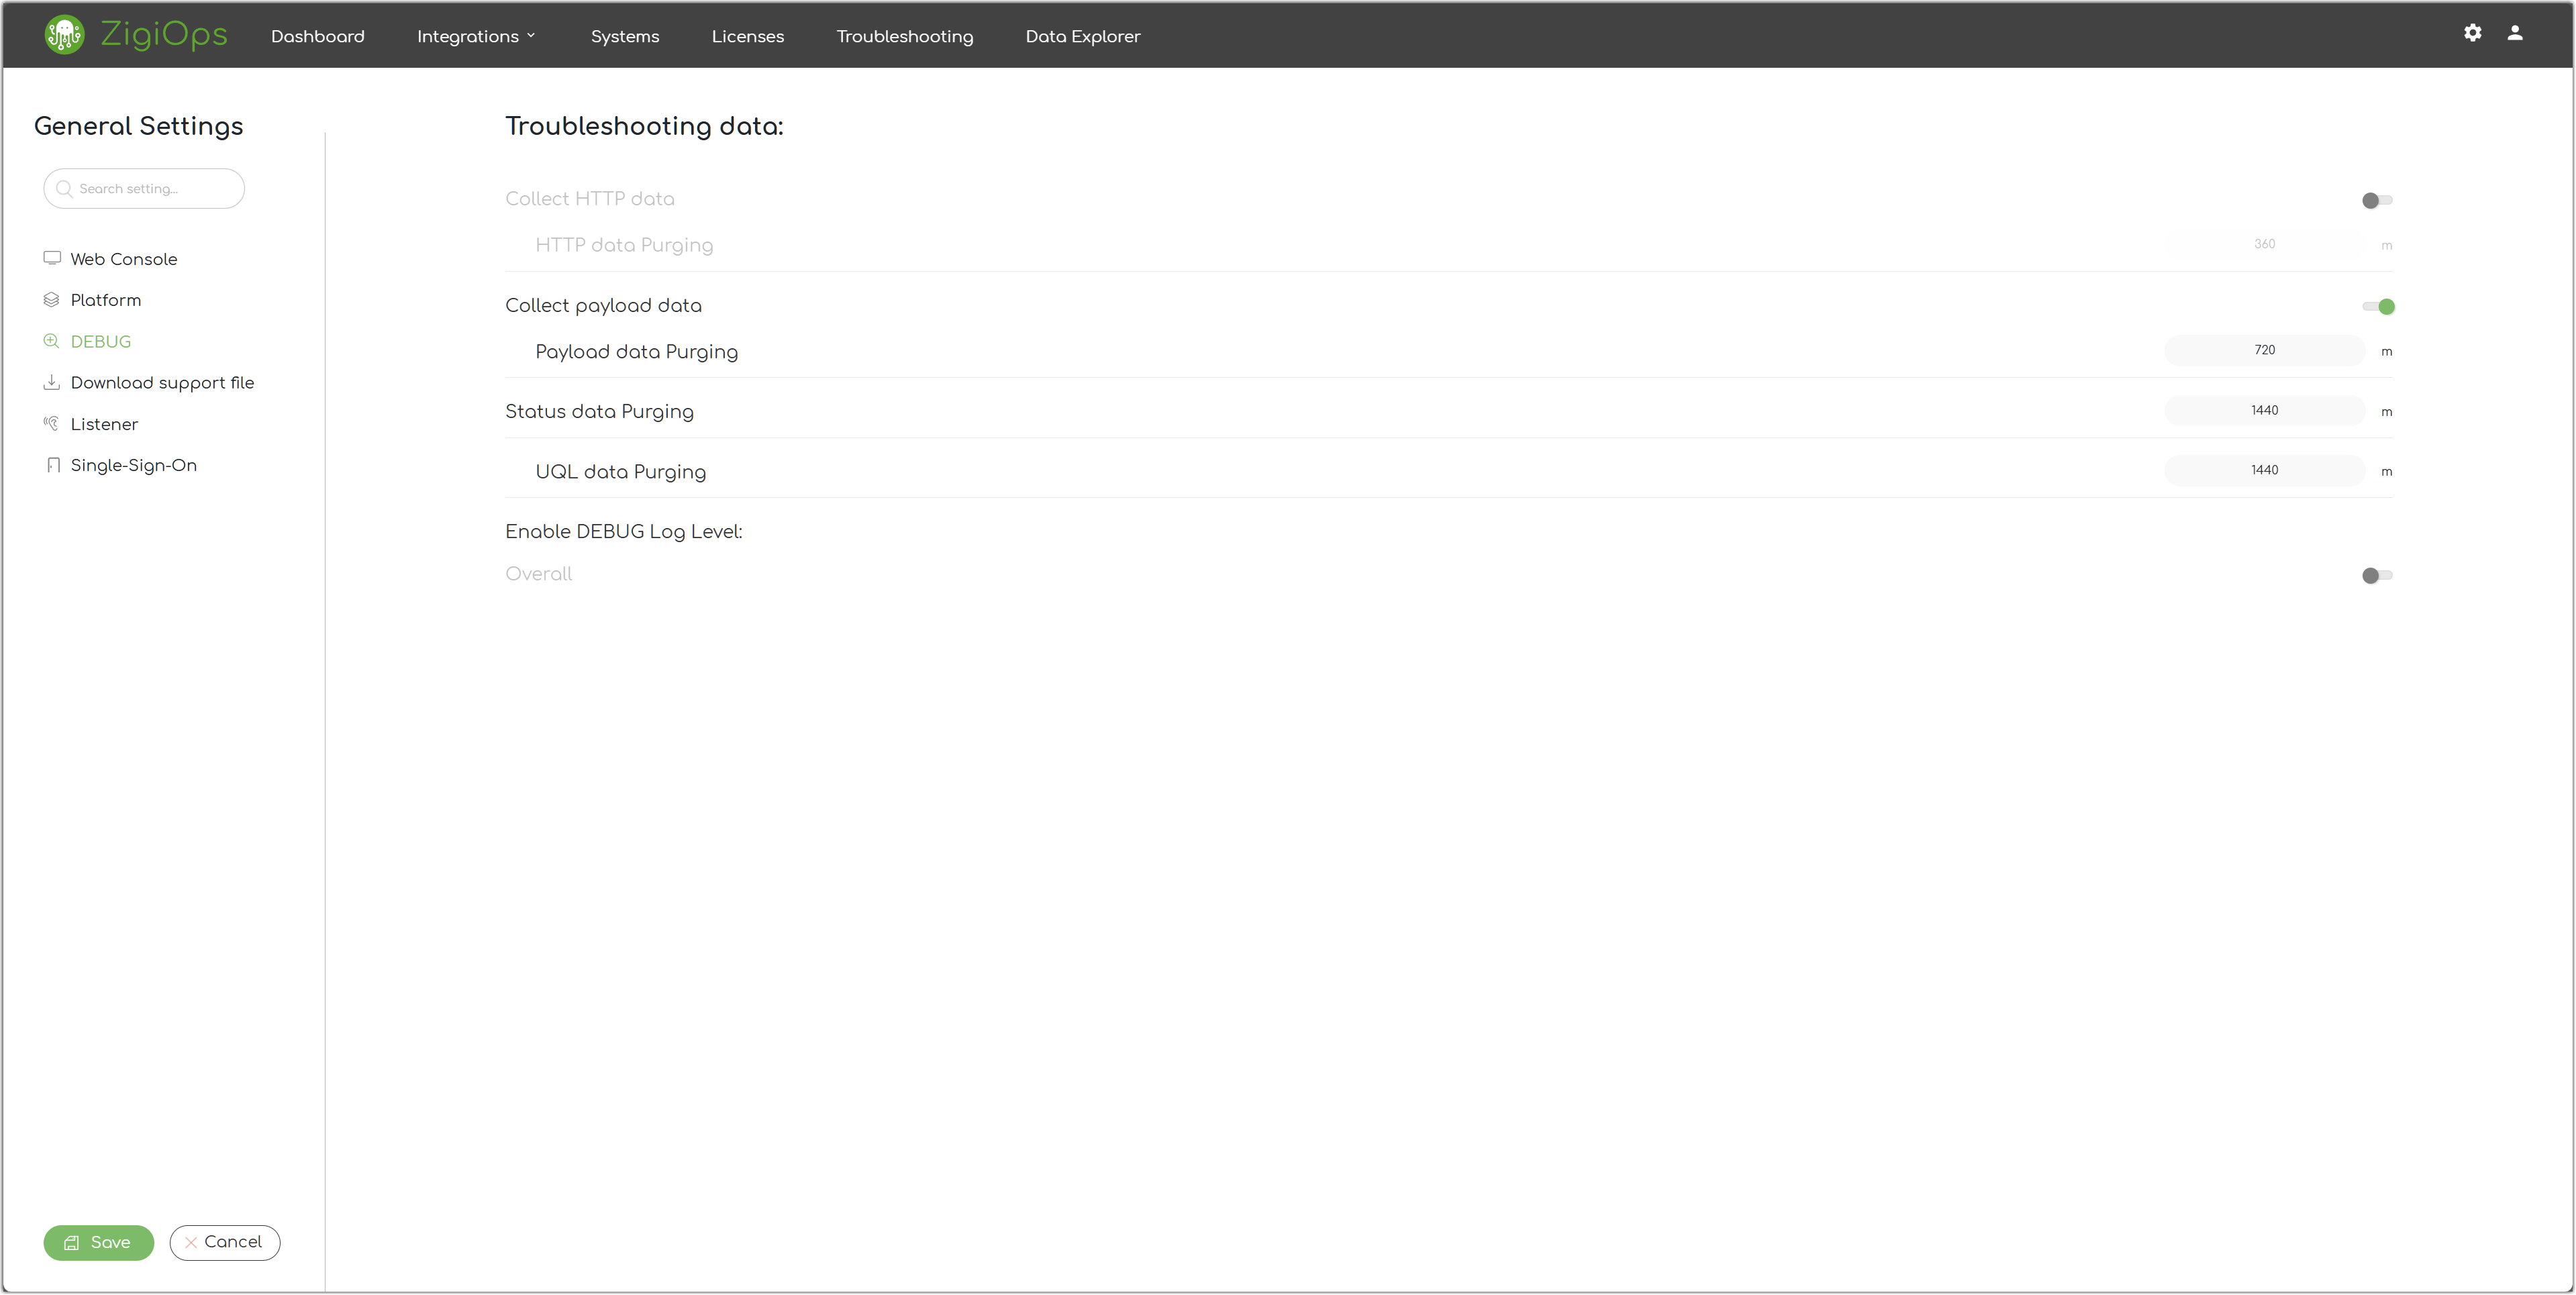
That's the current state of the HTTP data collection available on the Troubleshooting page.
HTTP Data Purging
That's the current purging interval for the HTTP data on the Troubleshooting page.
Collect Payload Data
That's the current state of the payload data collection available on the Troubleshooting page.
Payload Data Purging
That's the current purging interval for the payload data on the Troubleshooting page.
Status Data Purging
That's the current purging interval for the status data on the Troubleshooting page.
Enable Debug Log Level (Overall)
Enable this setting to put the log level of the ZigiOps logs to DEBUG.
Download Support File
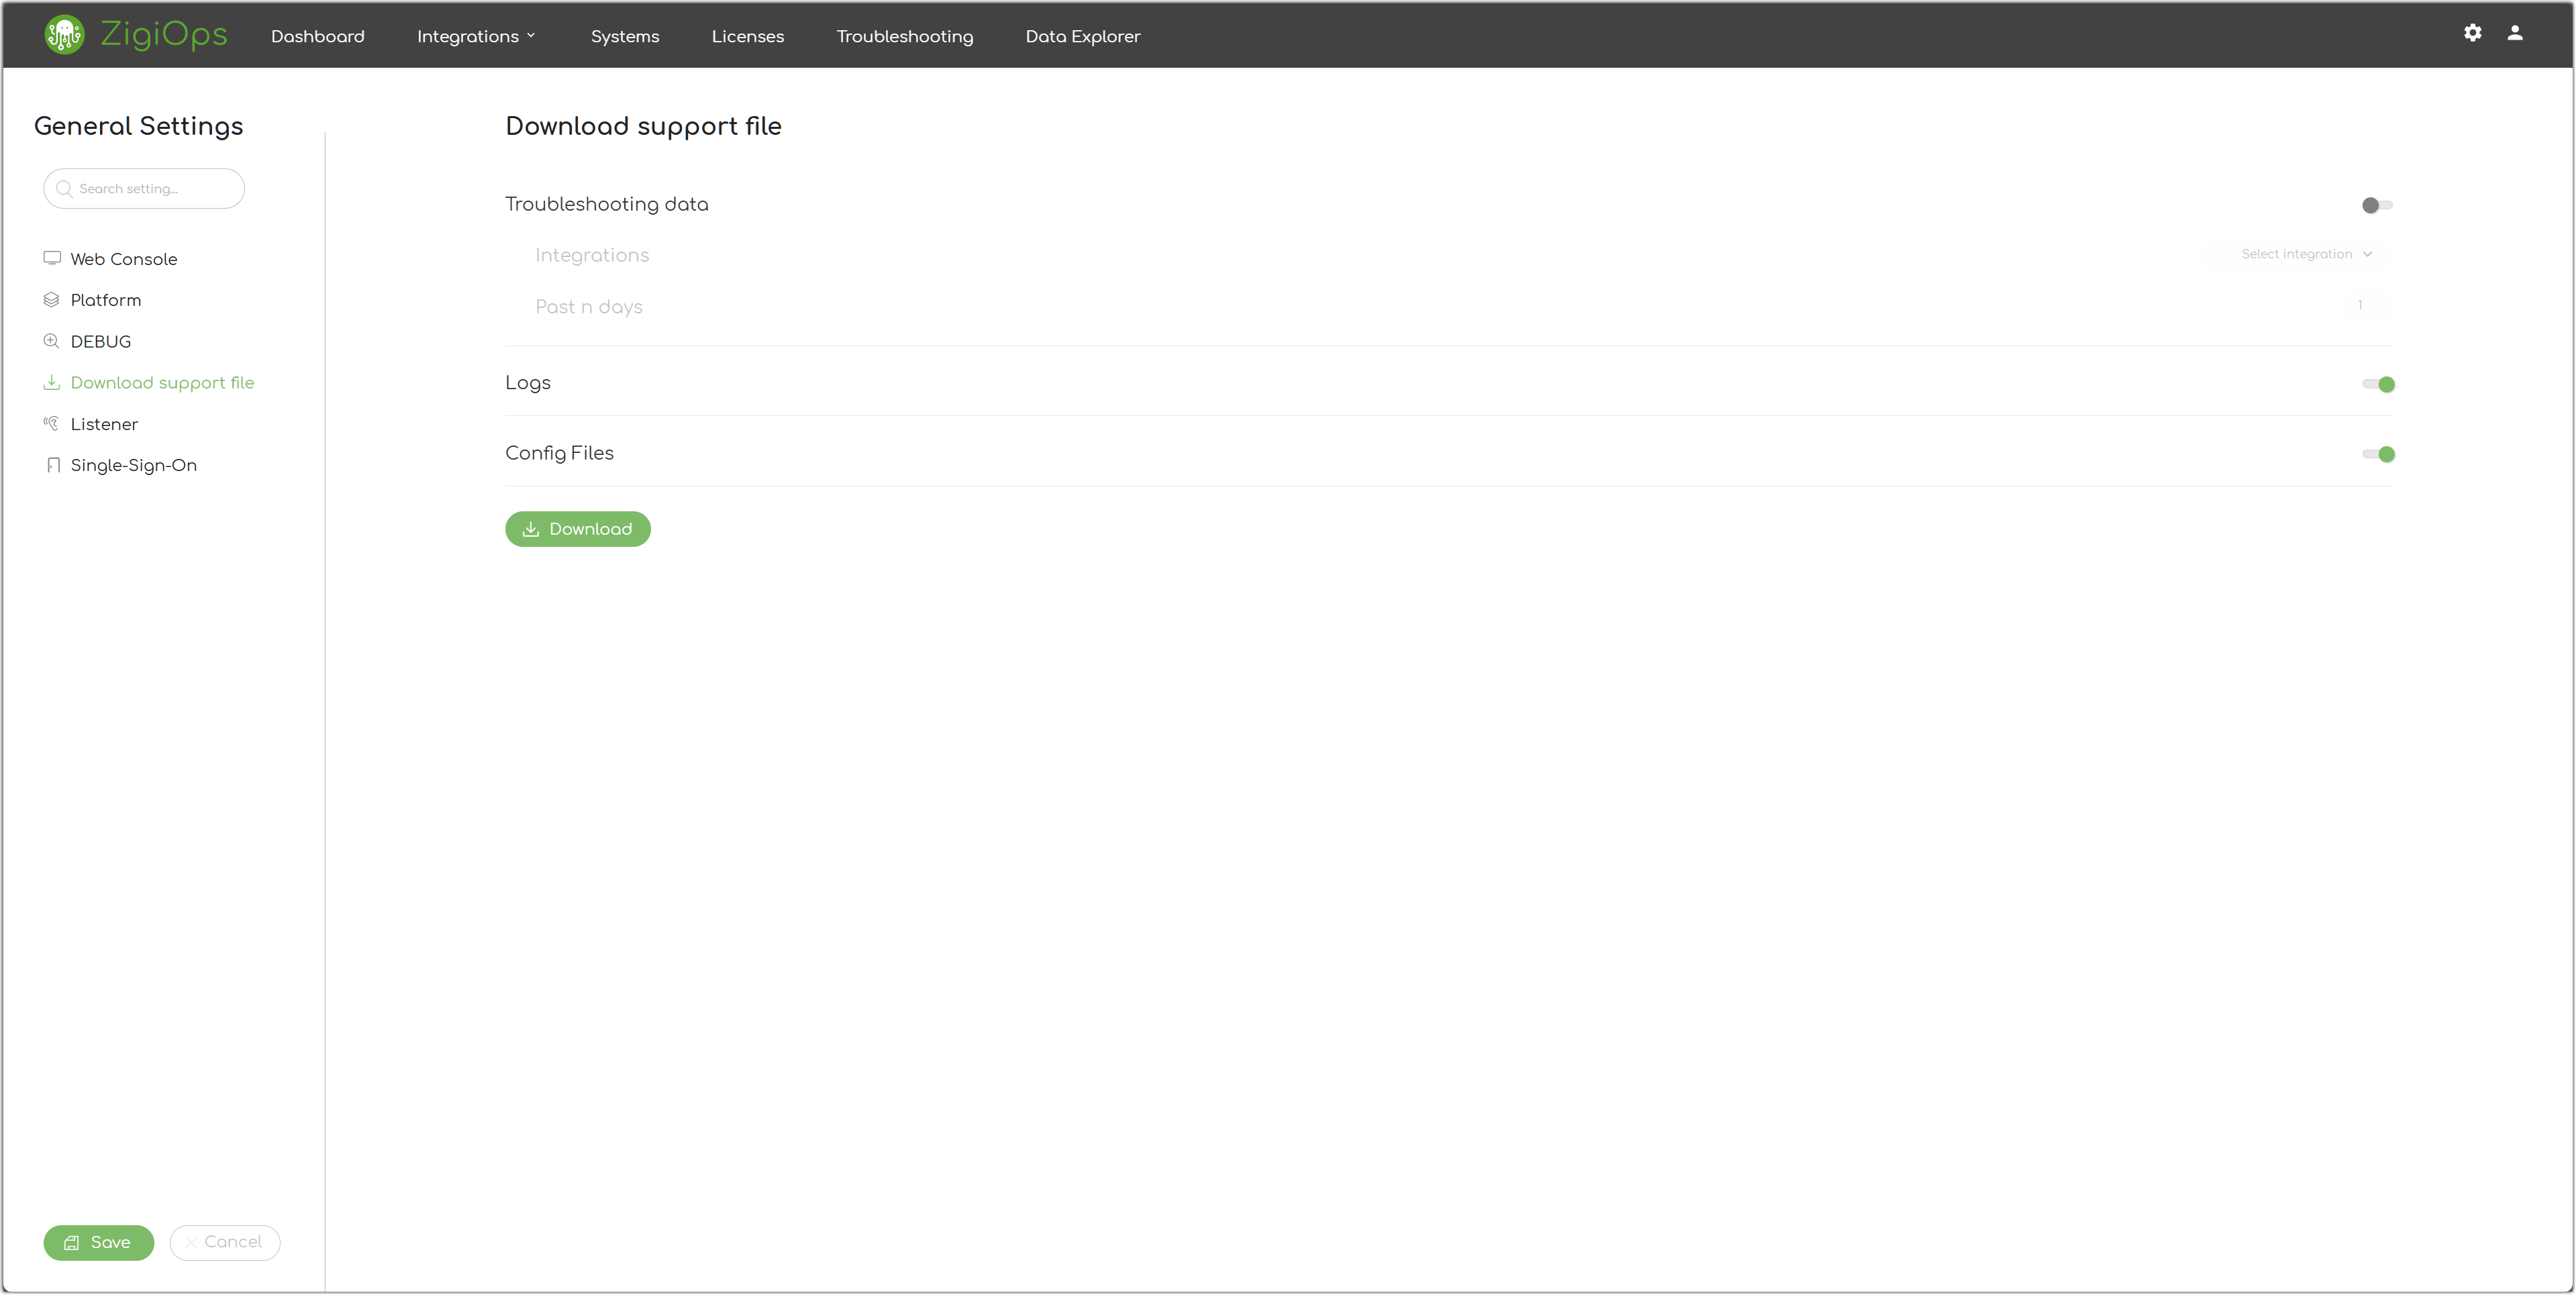
Troubleshooting Data
Enable this setting to include the corresponding troubleshooting data in the support file.
Integrations
Select the desired integration(s) to be included in the support file.
Past "N" Days
Select the past number of days of troubleshooting data to be included in the support file.
Logs
Enable this setting to include the ZigiOps logs in the support file.
Config Files
Enable this setting to include the ZigiOps configuration files in the support file.
Listener
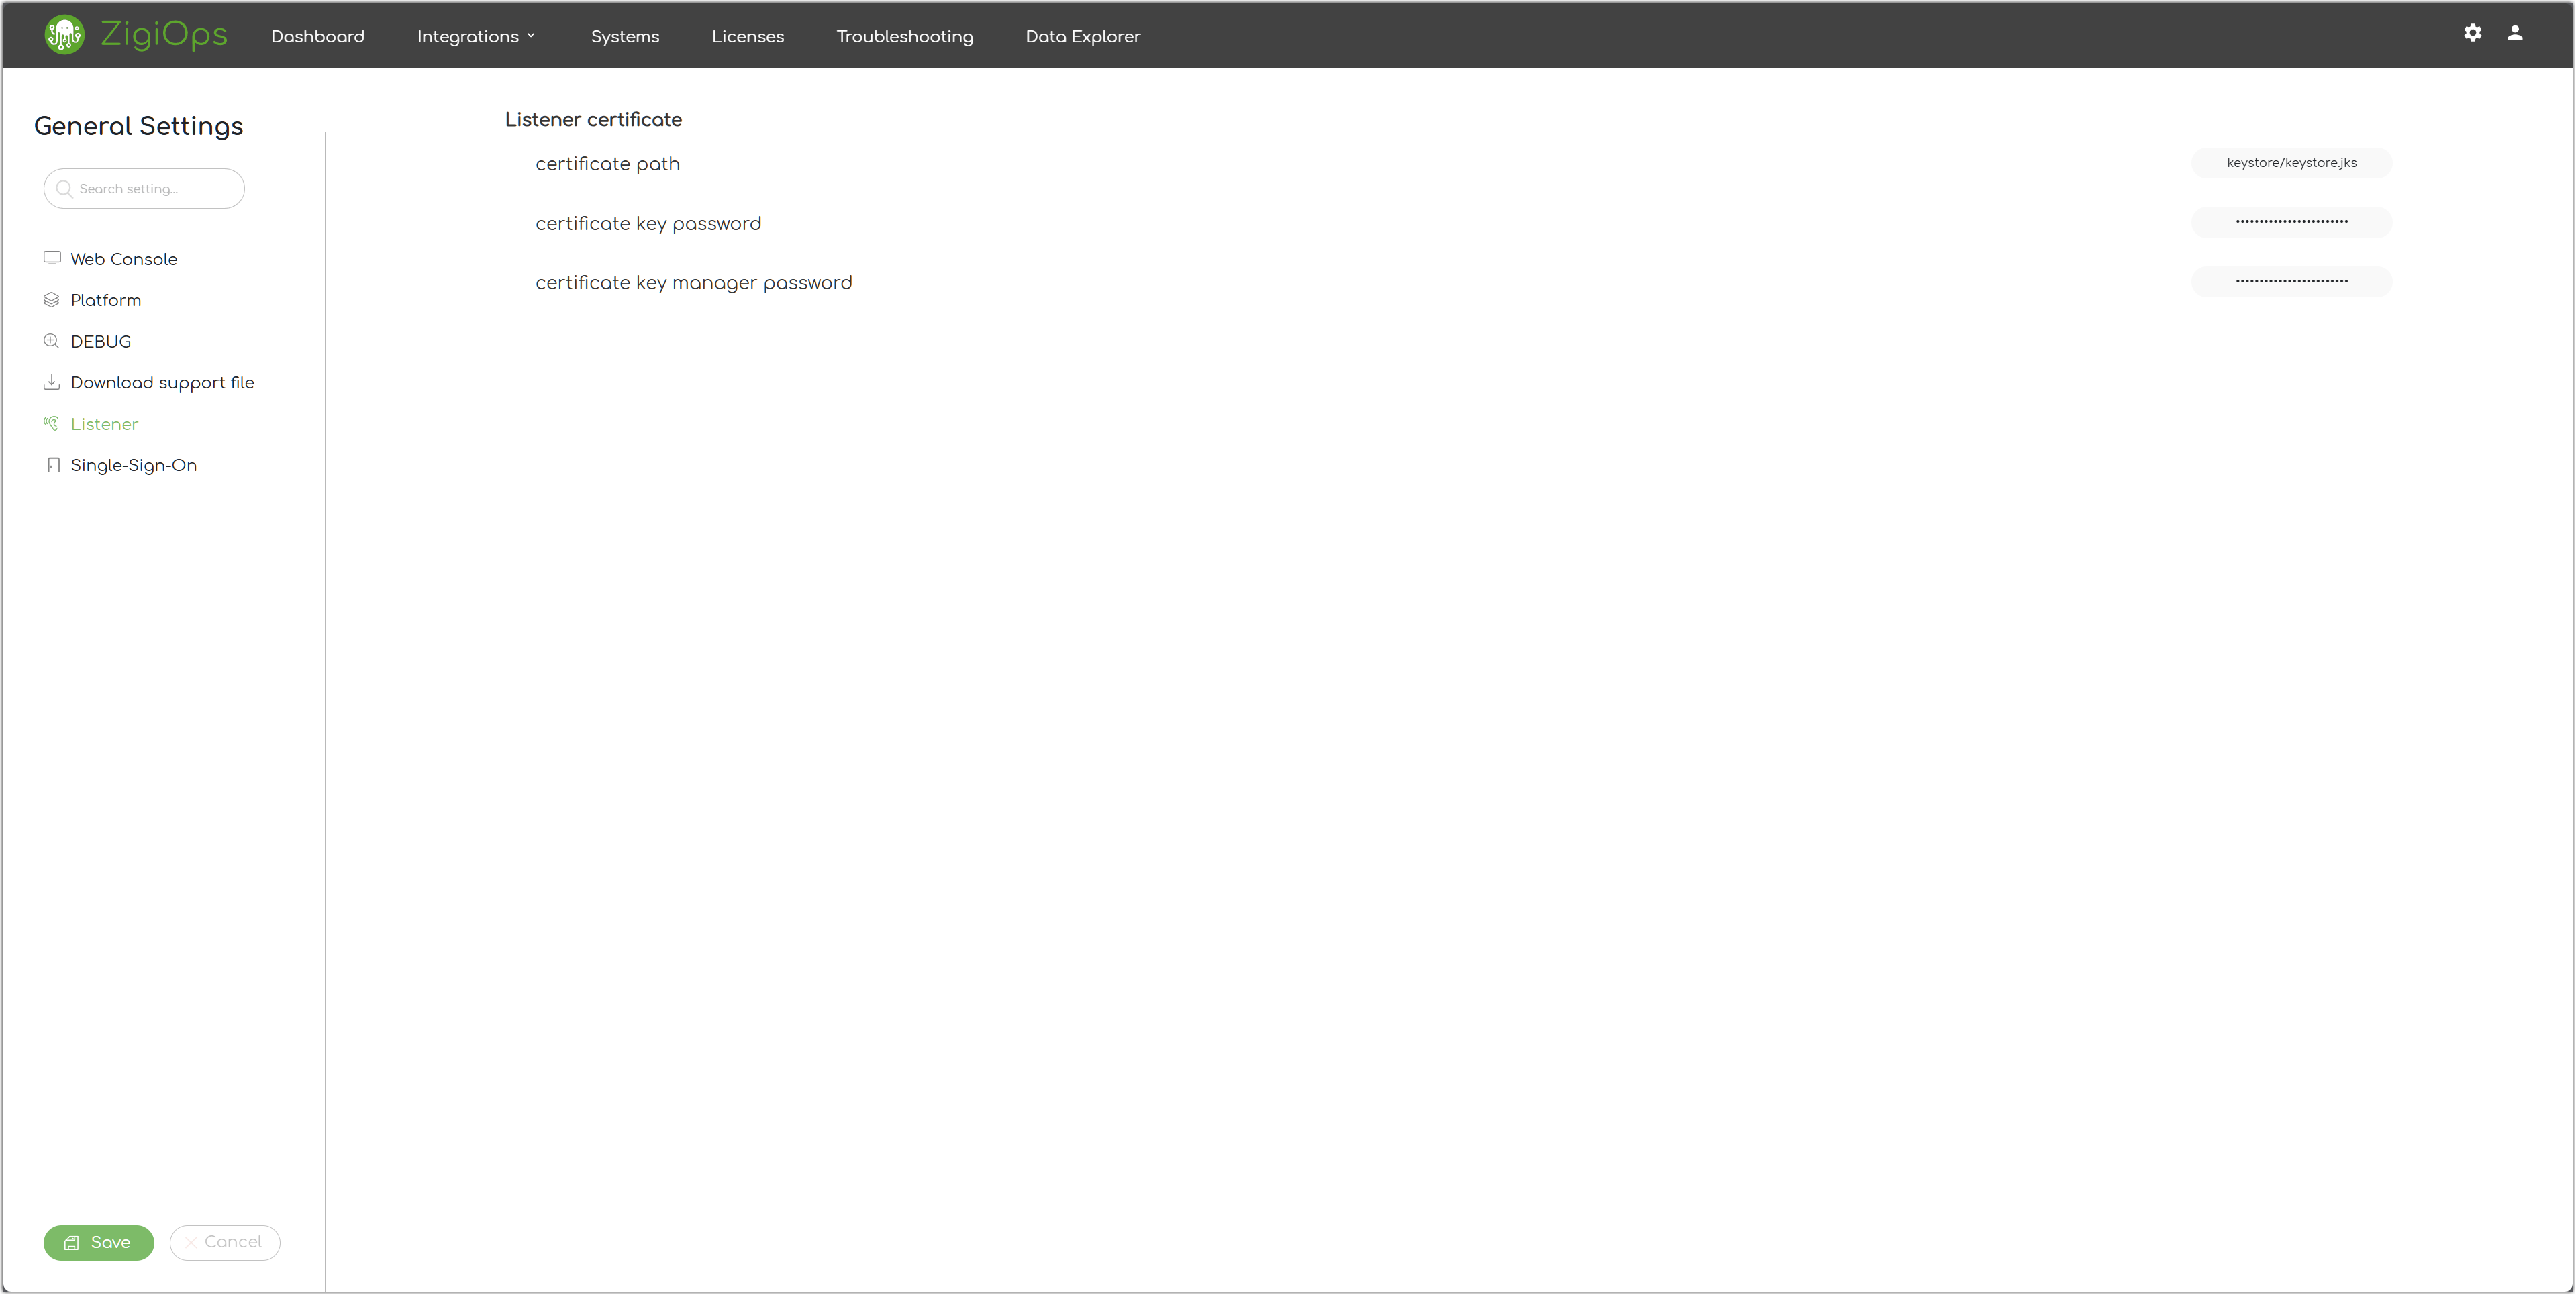
Certificate Path
The path to the default ZigiOps keystore file.
Certificate Key Password
The key password of the ZigiOps keystore.
Certificate Key Manager Password
The key manager password of the ZigiOps keystore.
Single Sign-On
Part 1 - Set up SAML in OKTA
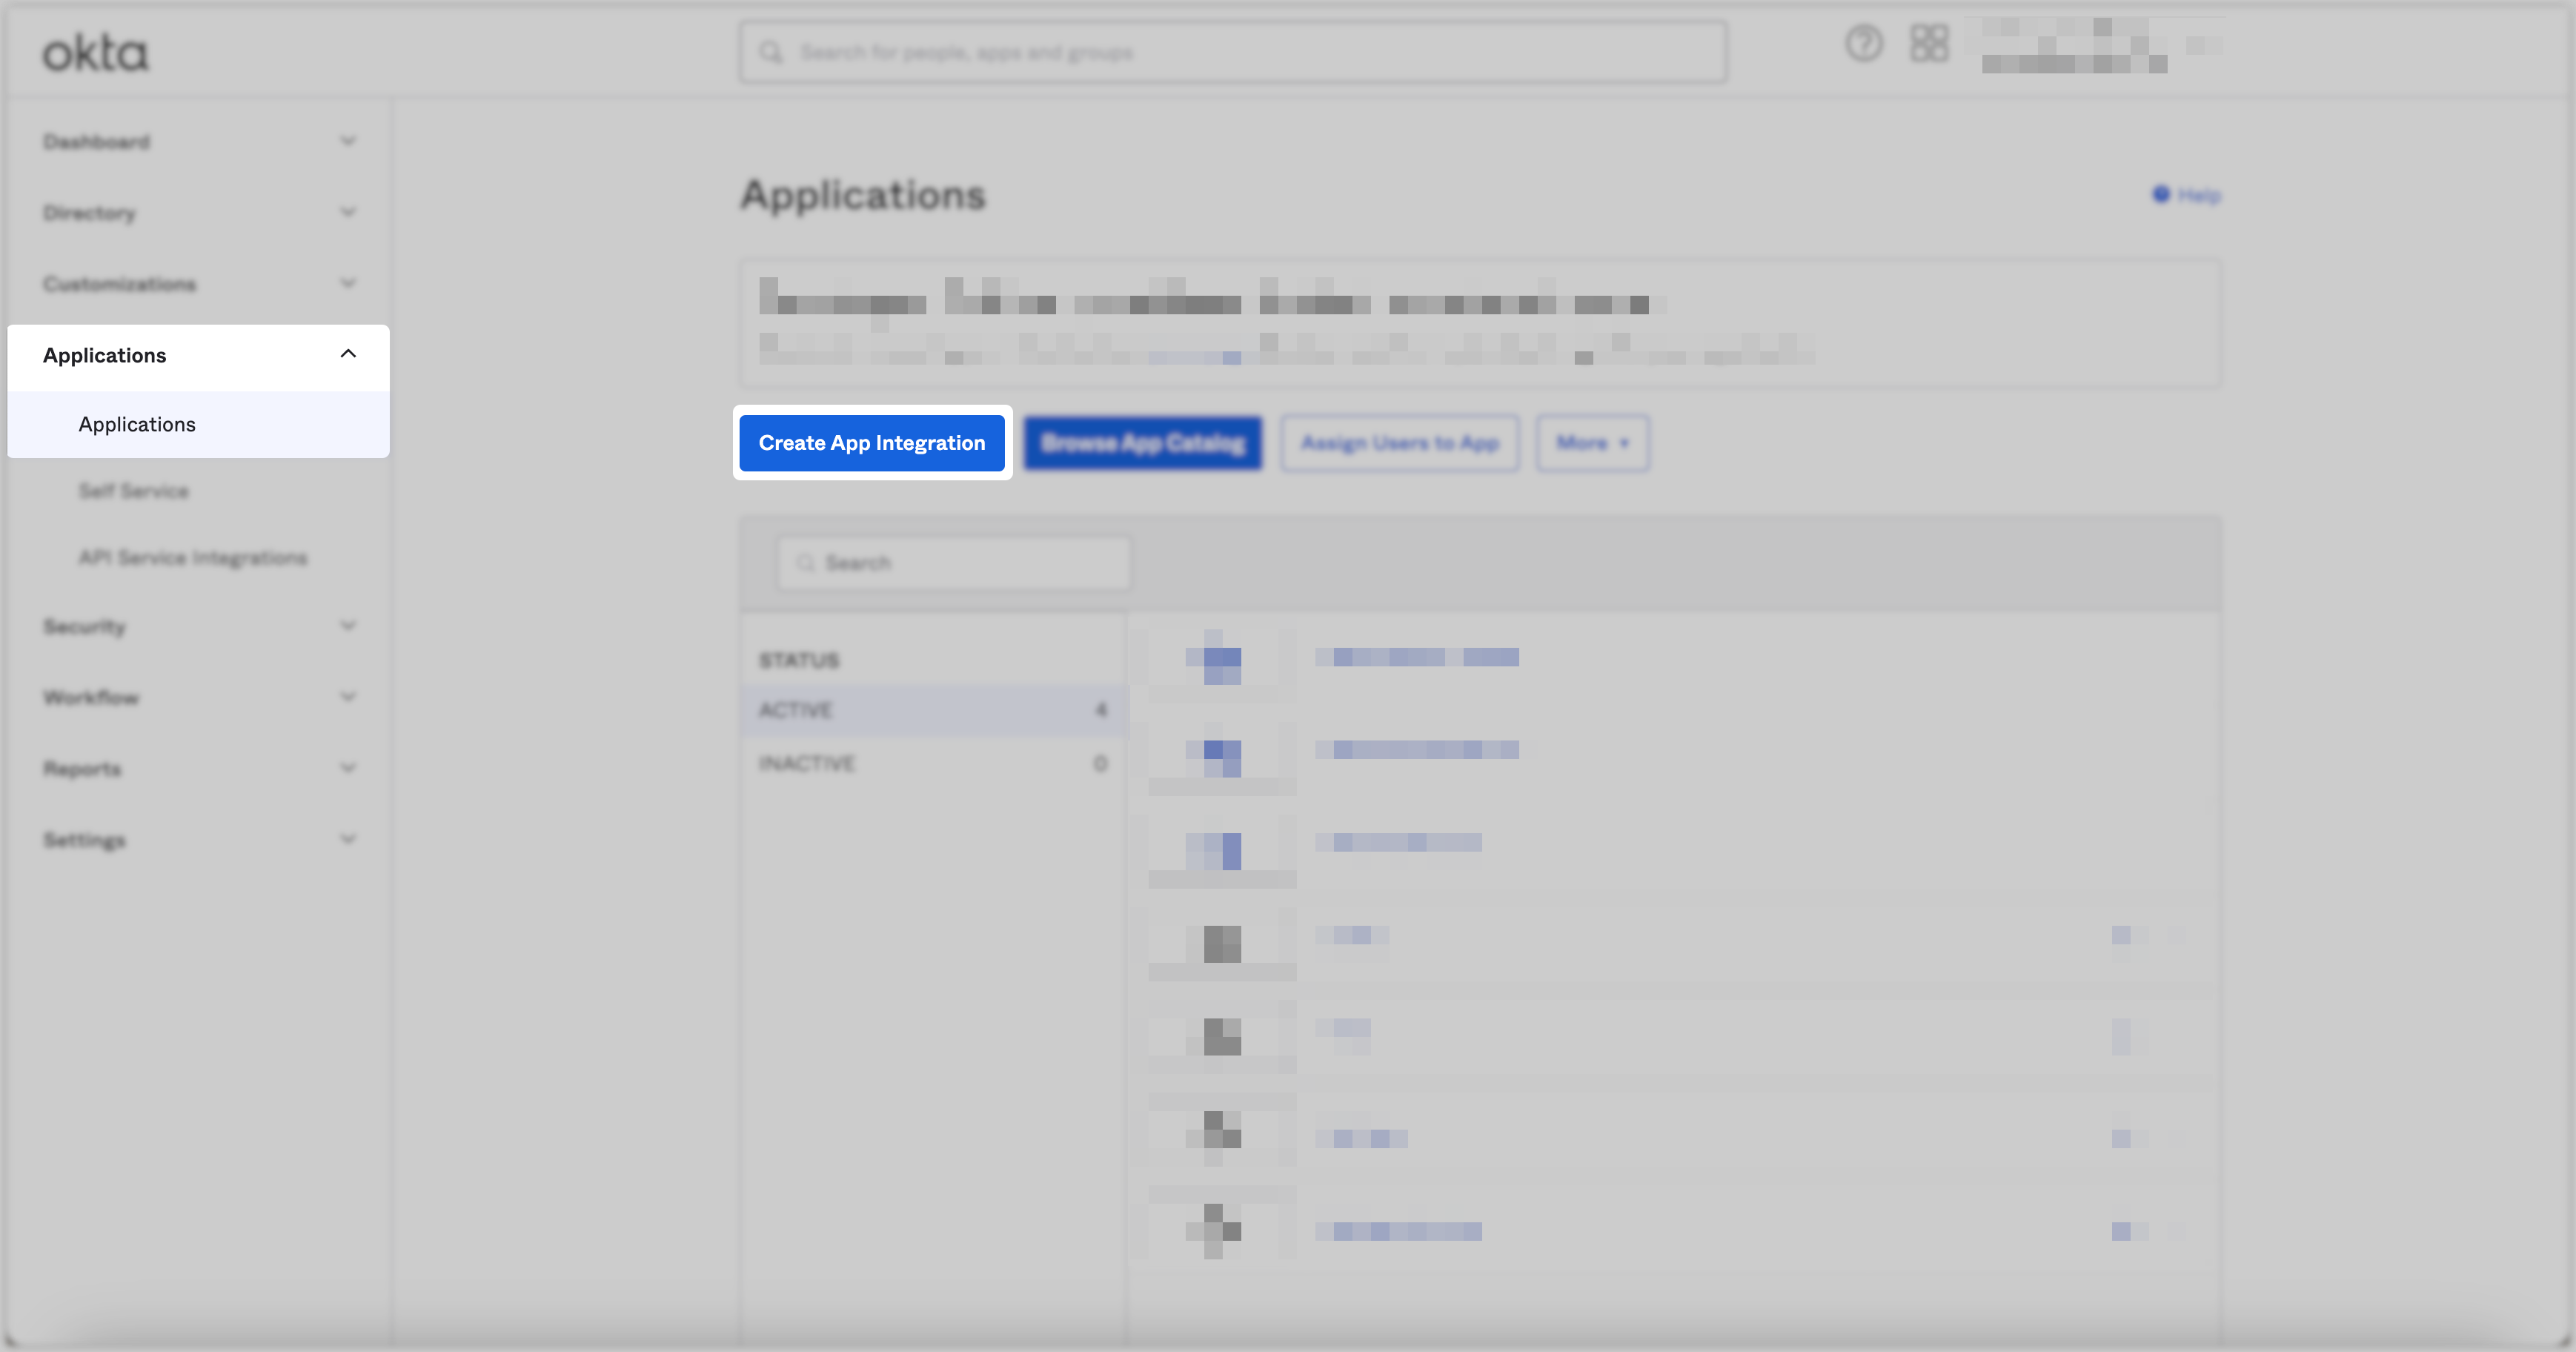
Log in to your OKTA UI instance, navigate to the Applications → Applications menu, and click the Create App Integration button.
Select
SAML 2.0for the sign-in method and click the Next button.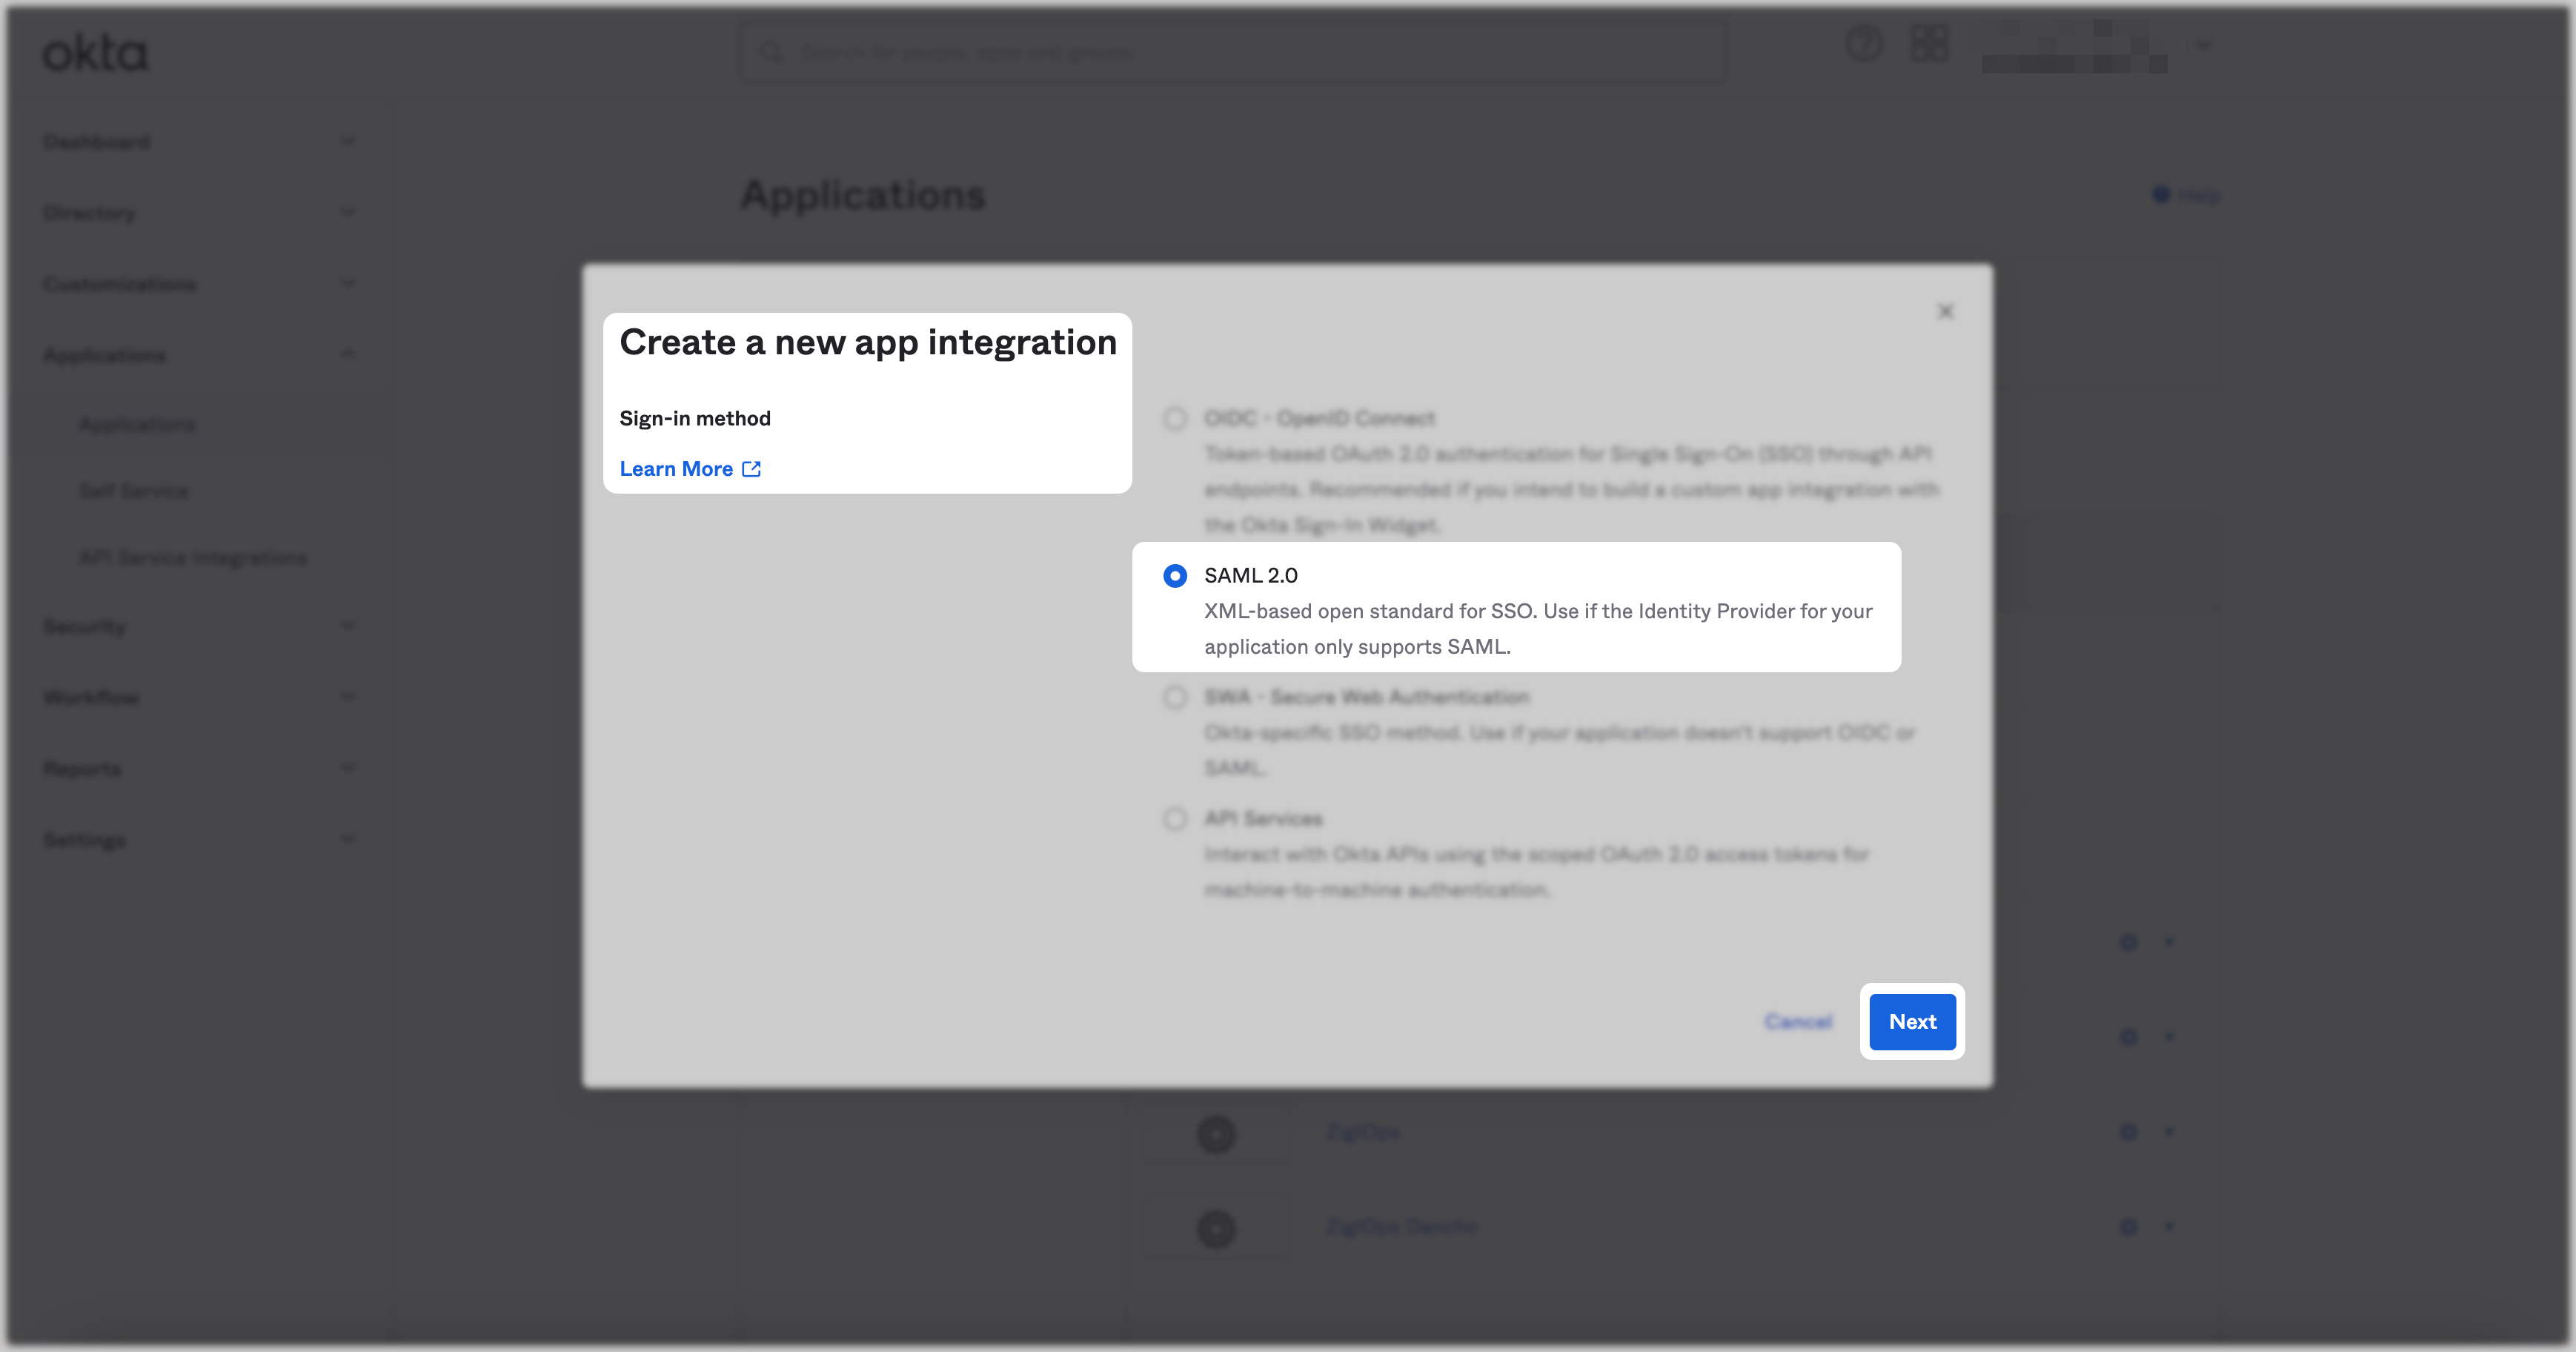
Input a suitable application name. For example,
ZigiWave ZigiOps SSOand click the Next button.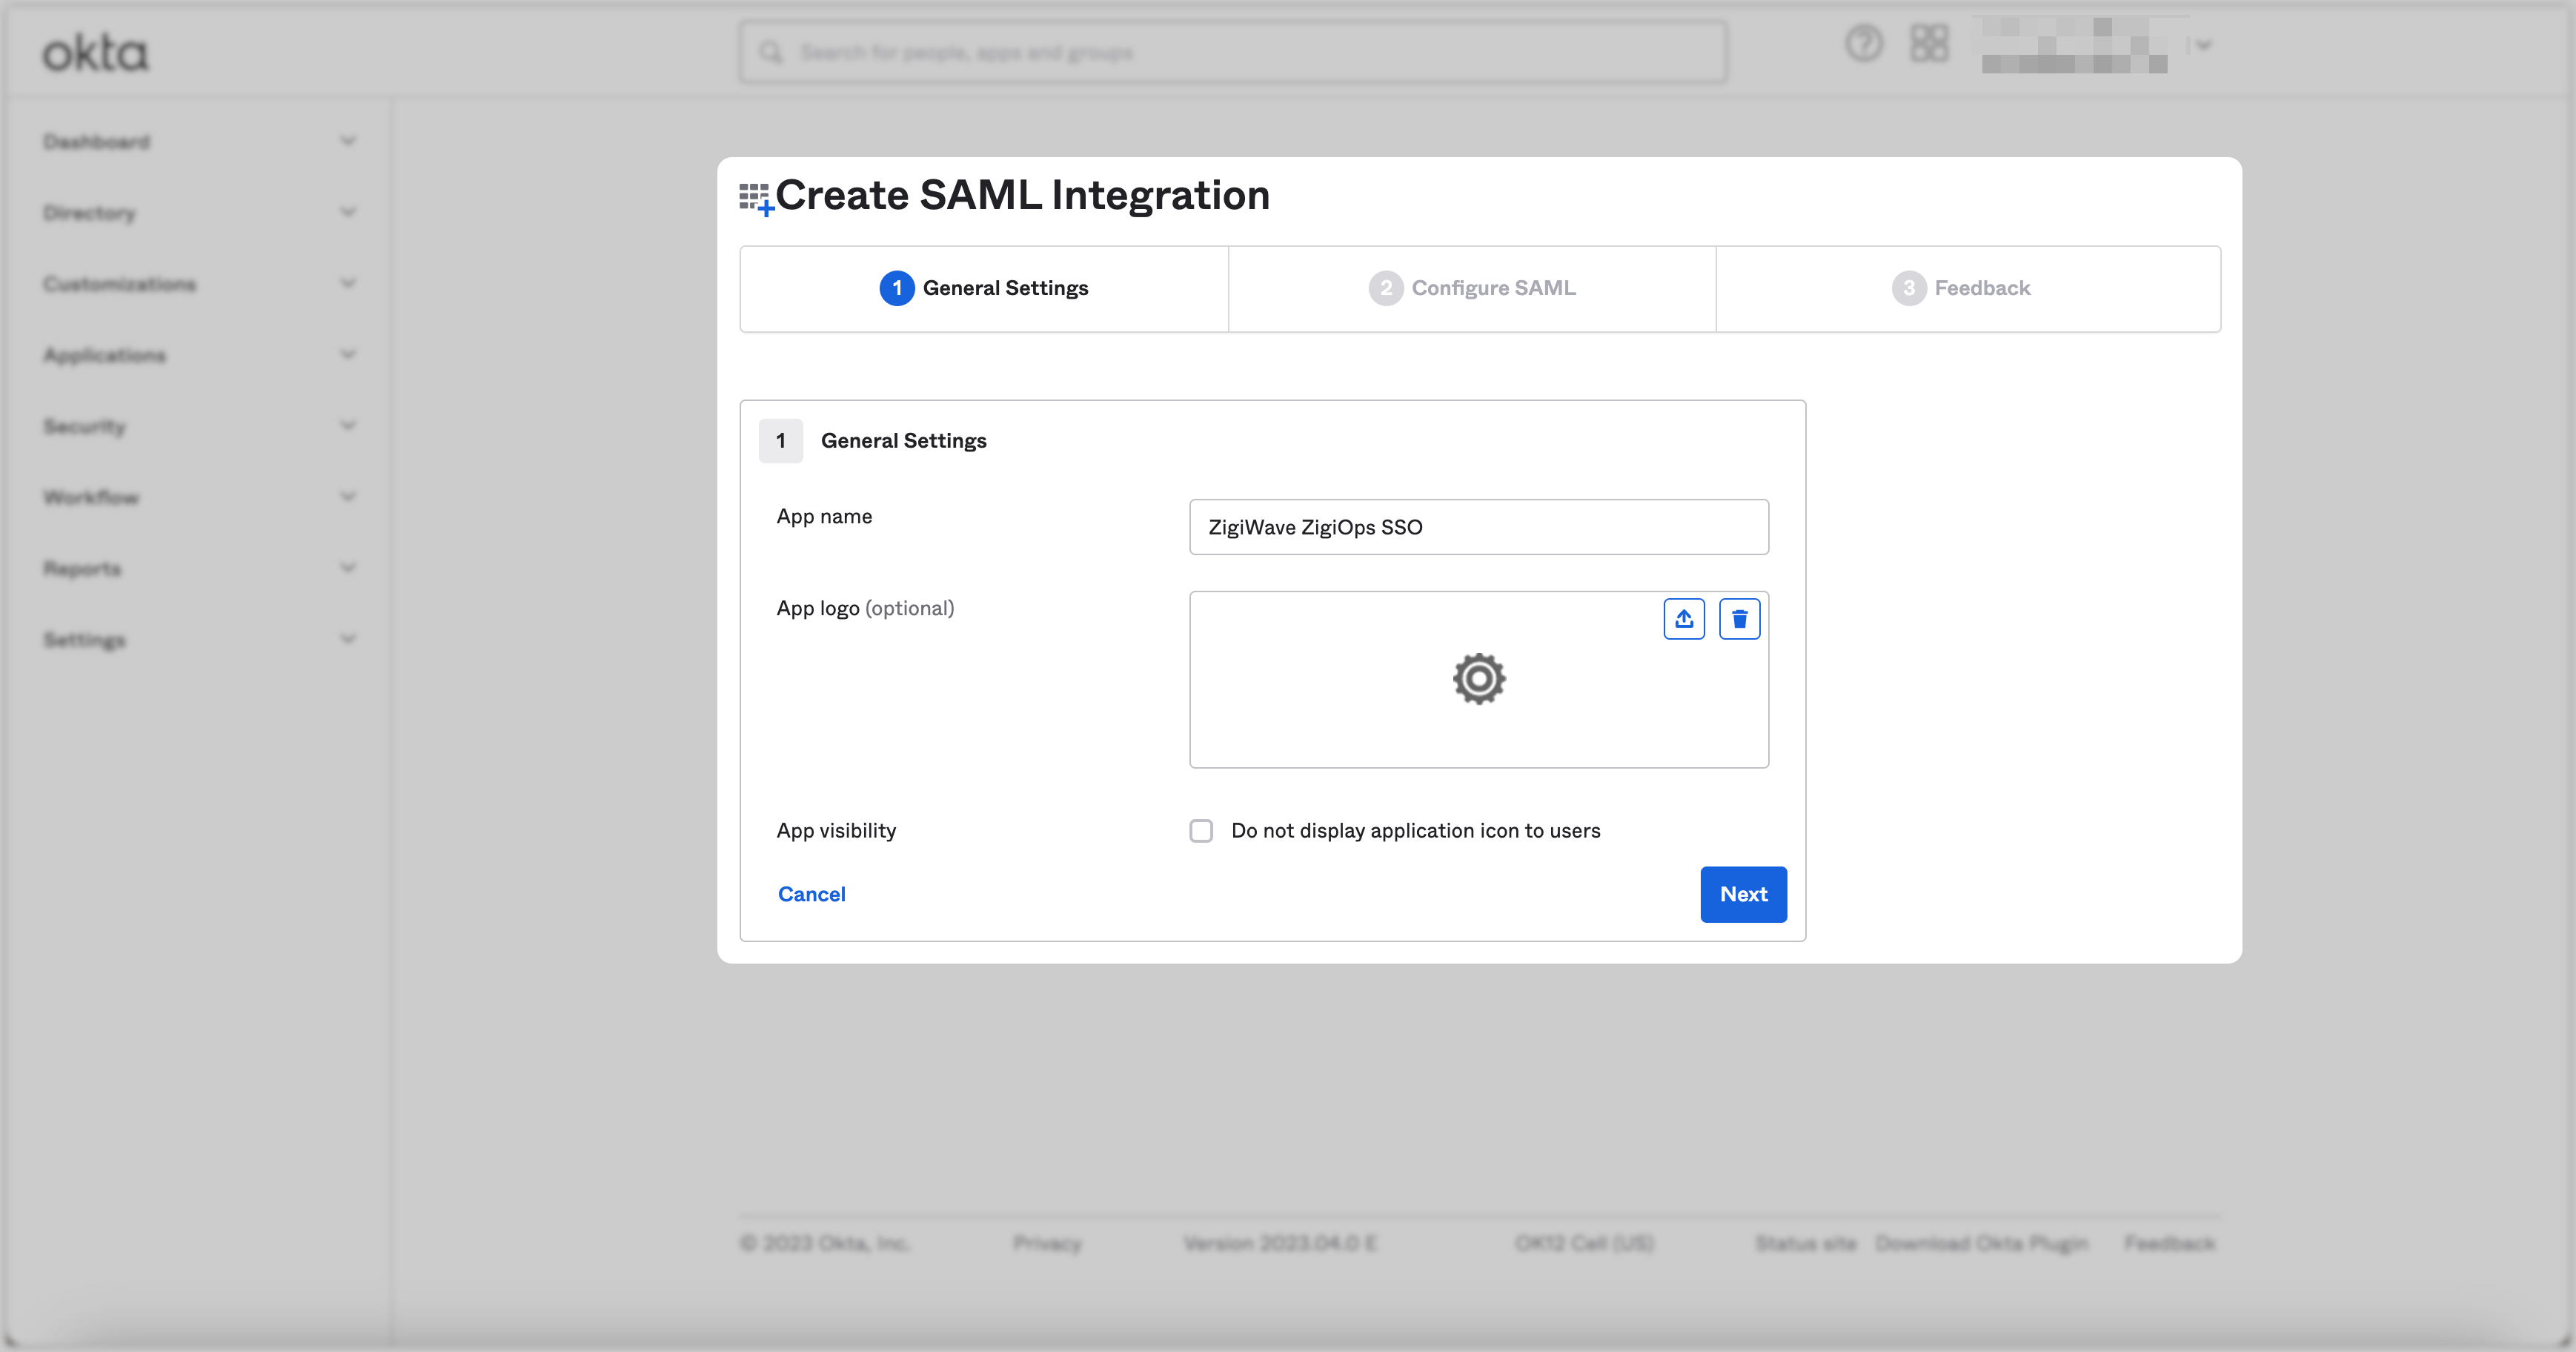
Input the ZigiOps URL and port number for the Single sign-on URL and Audience URI (SP Entity ID) settings. For example,
https://zigiops.example.com:8585.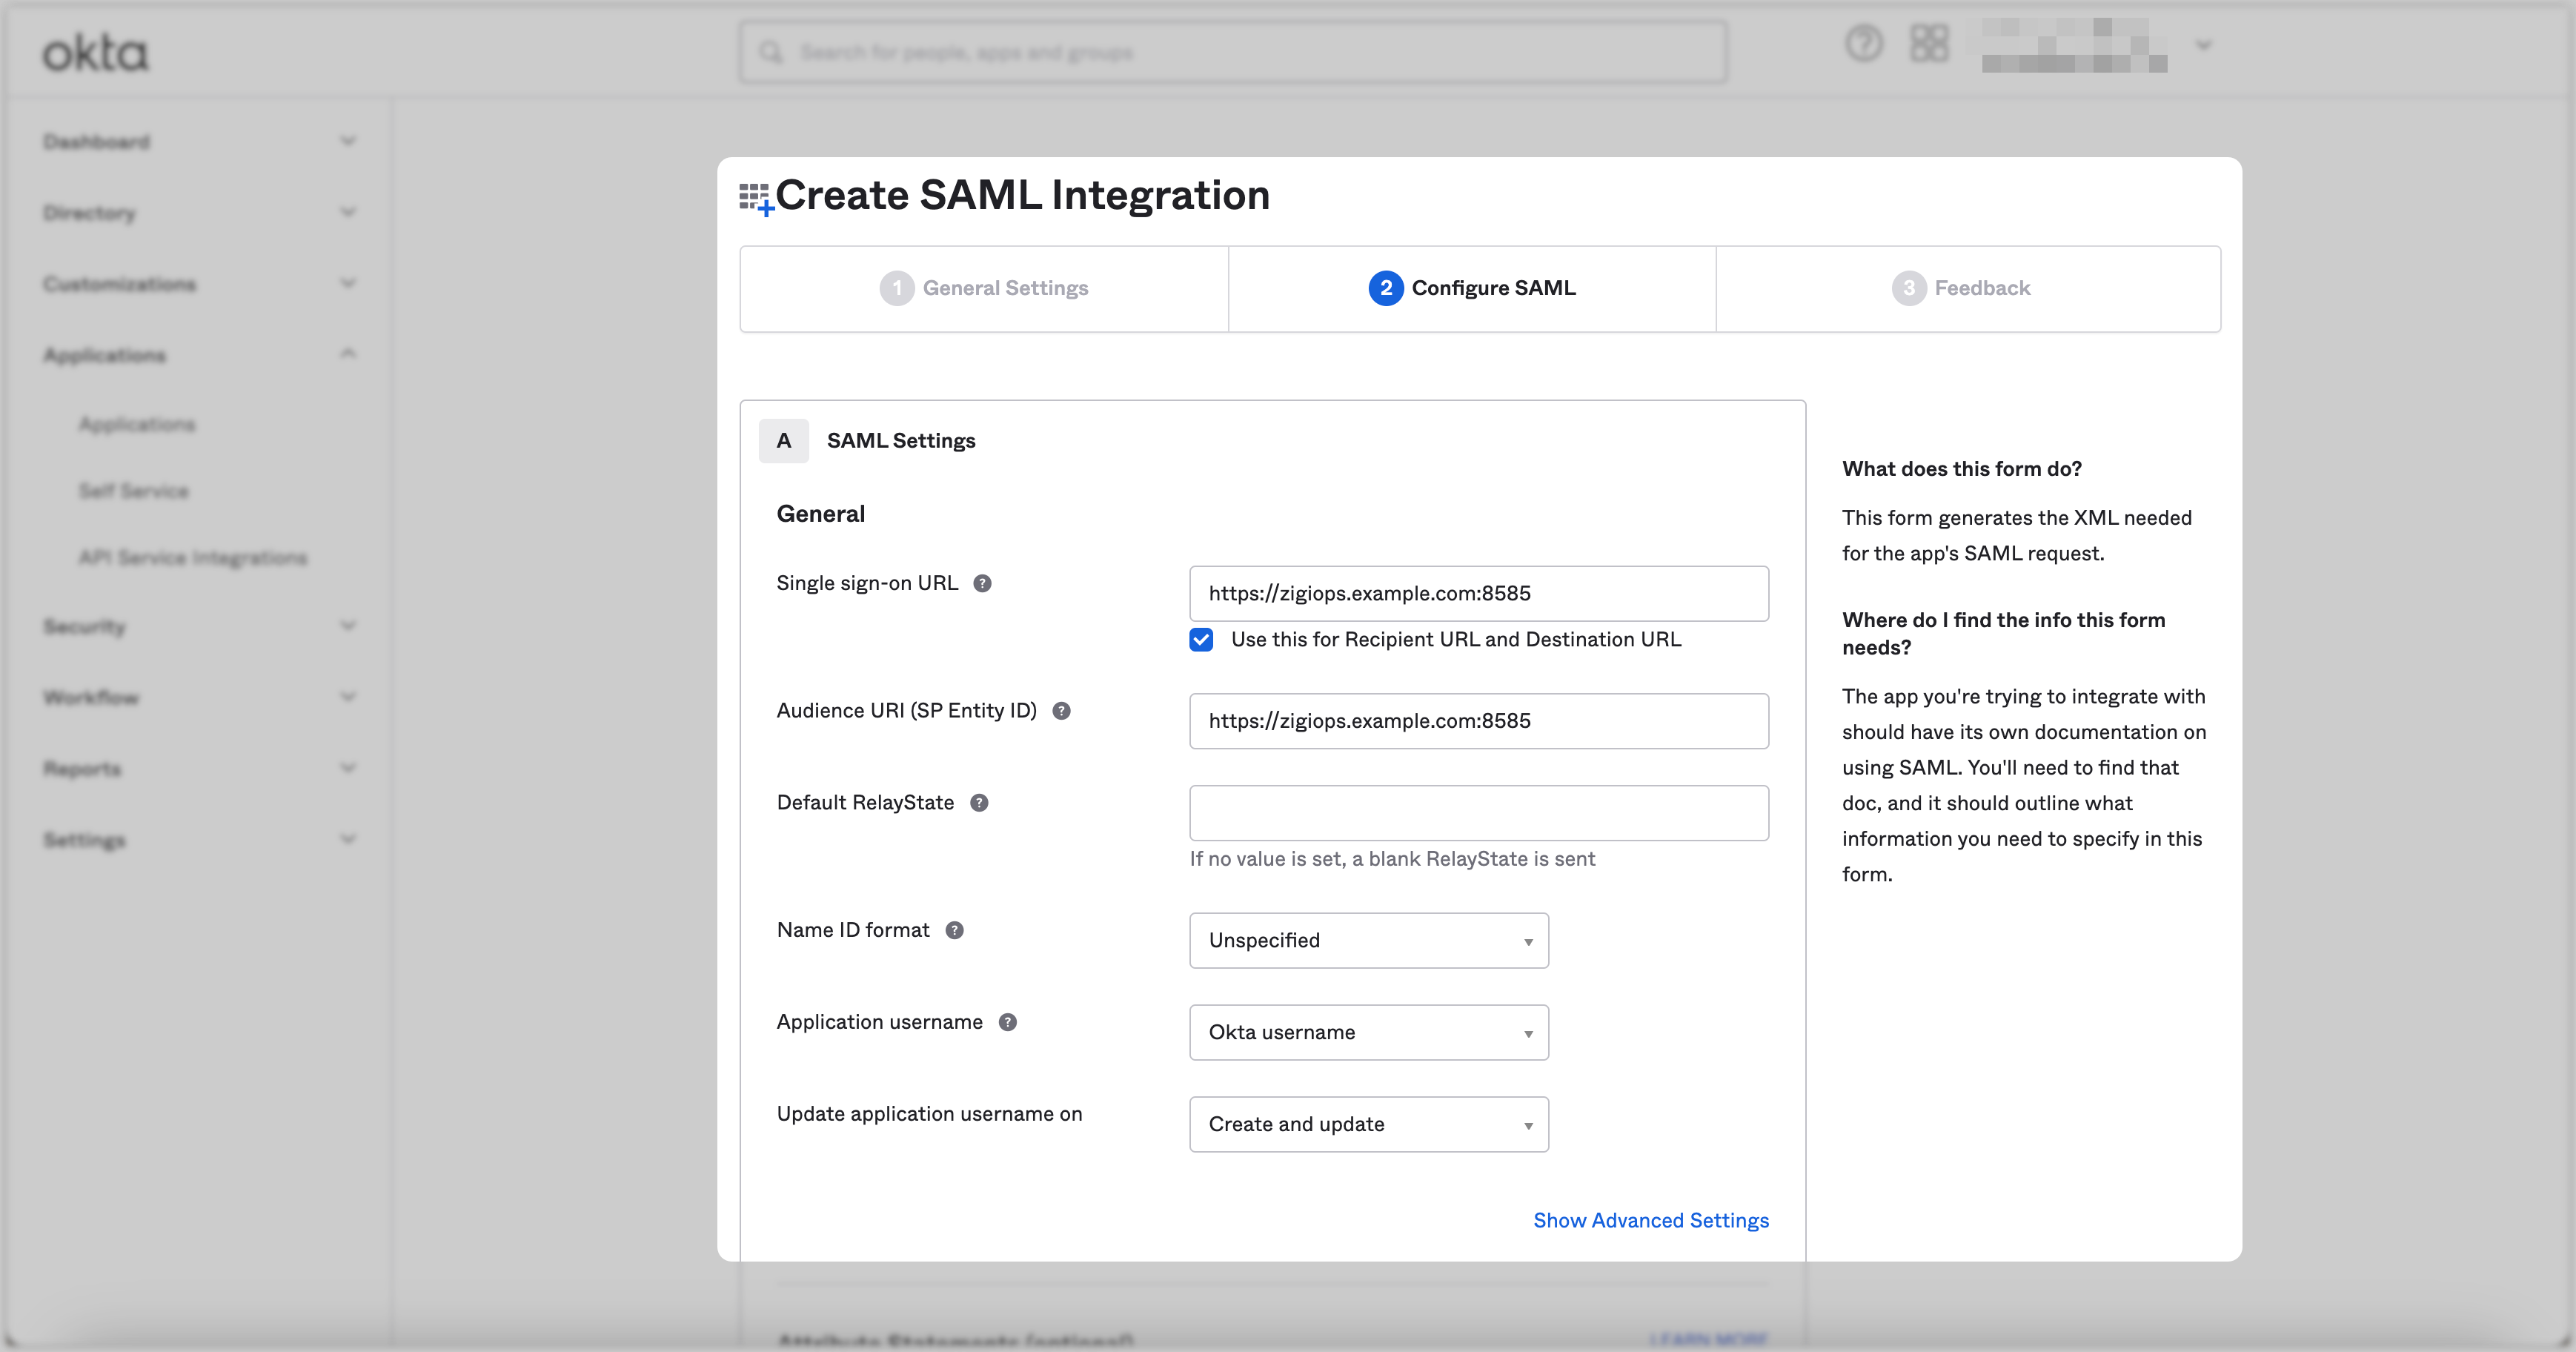
Scroll down and click the Show Advanced Settings button.
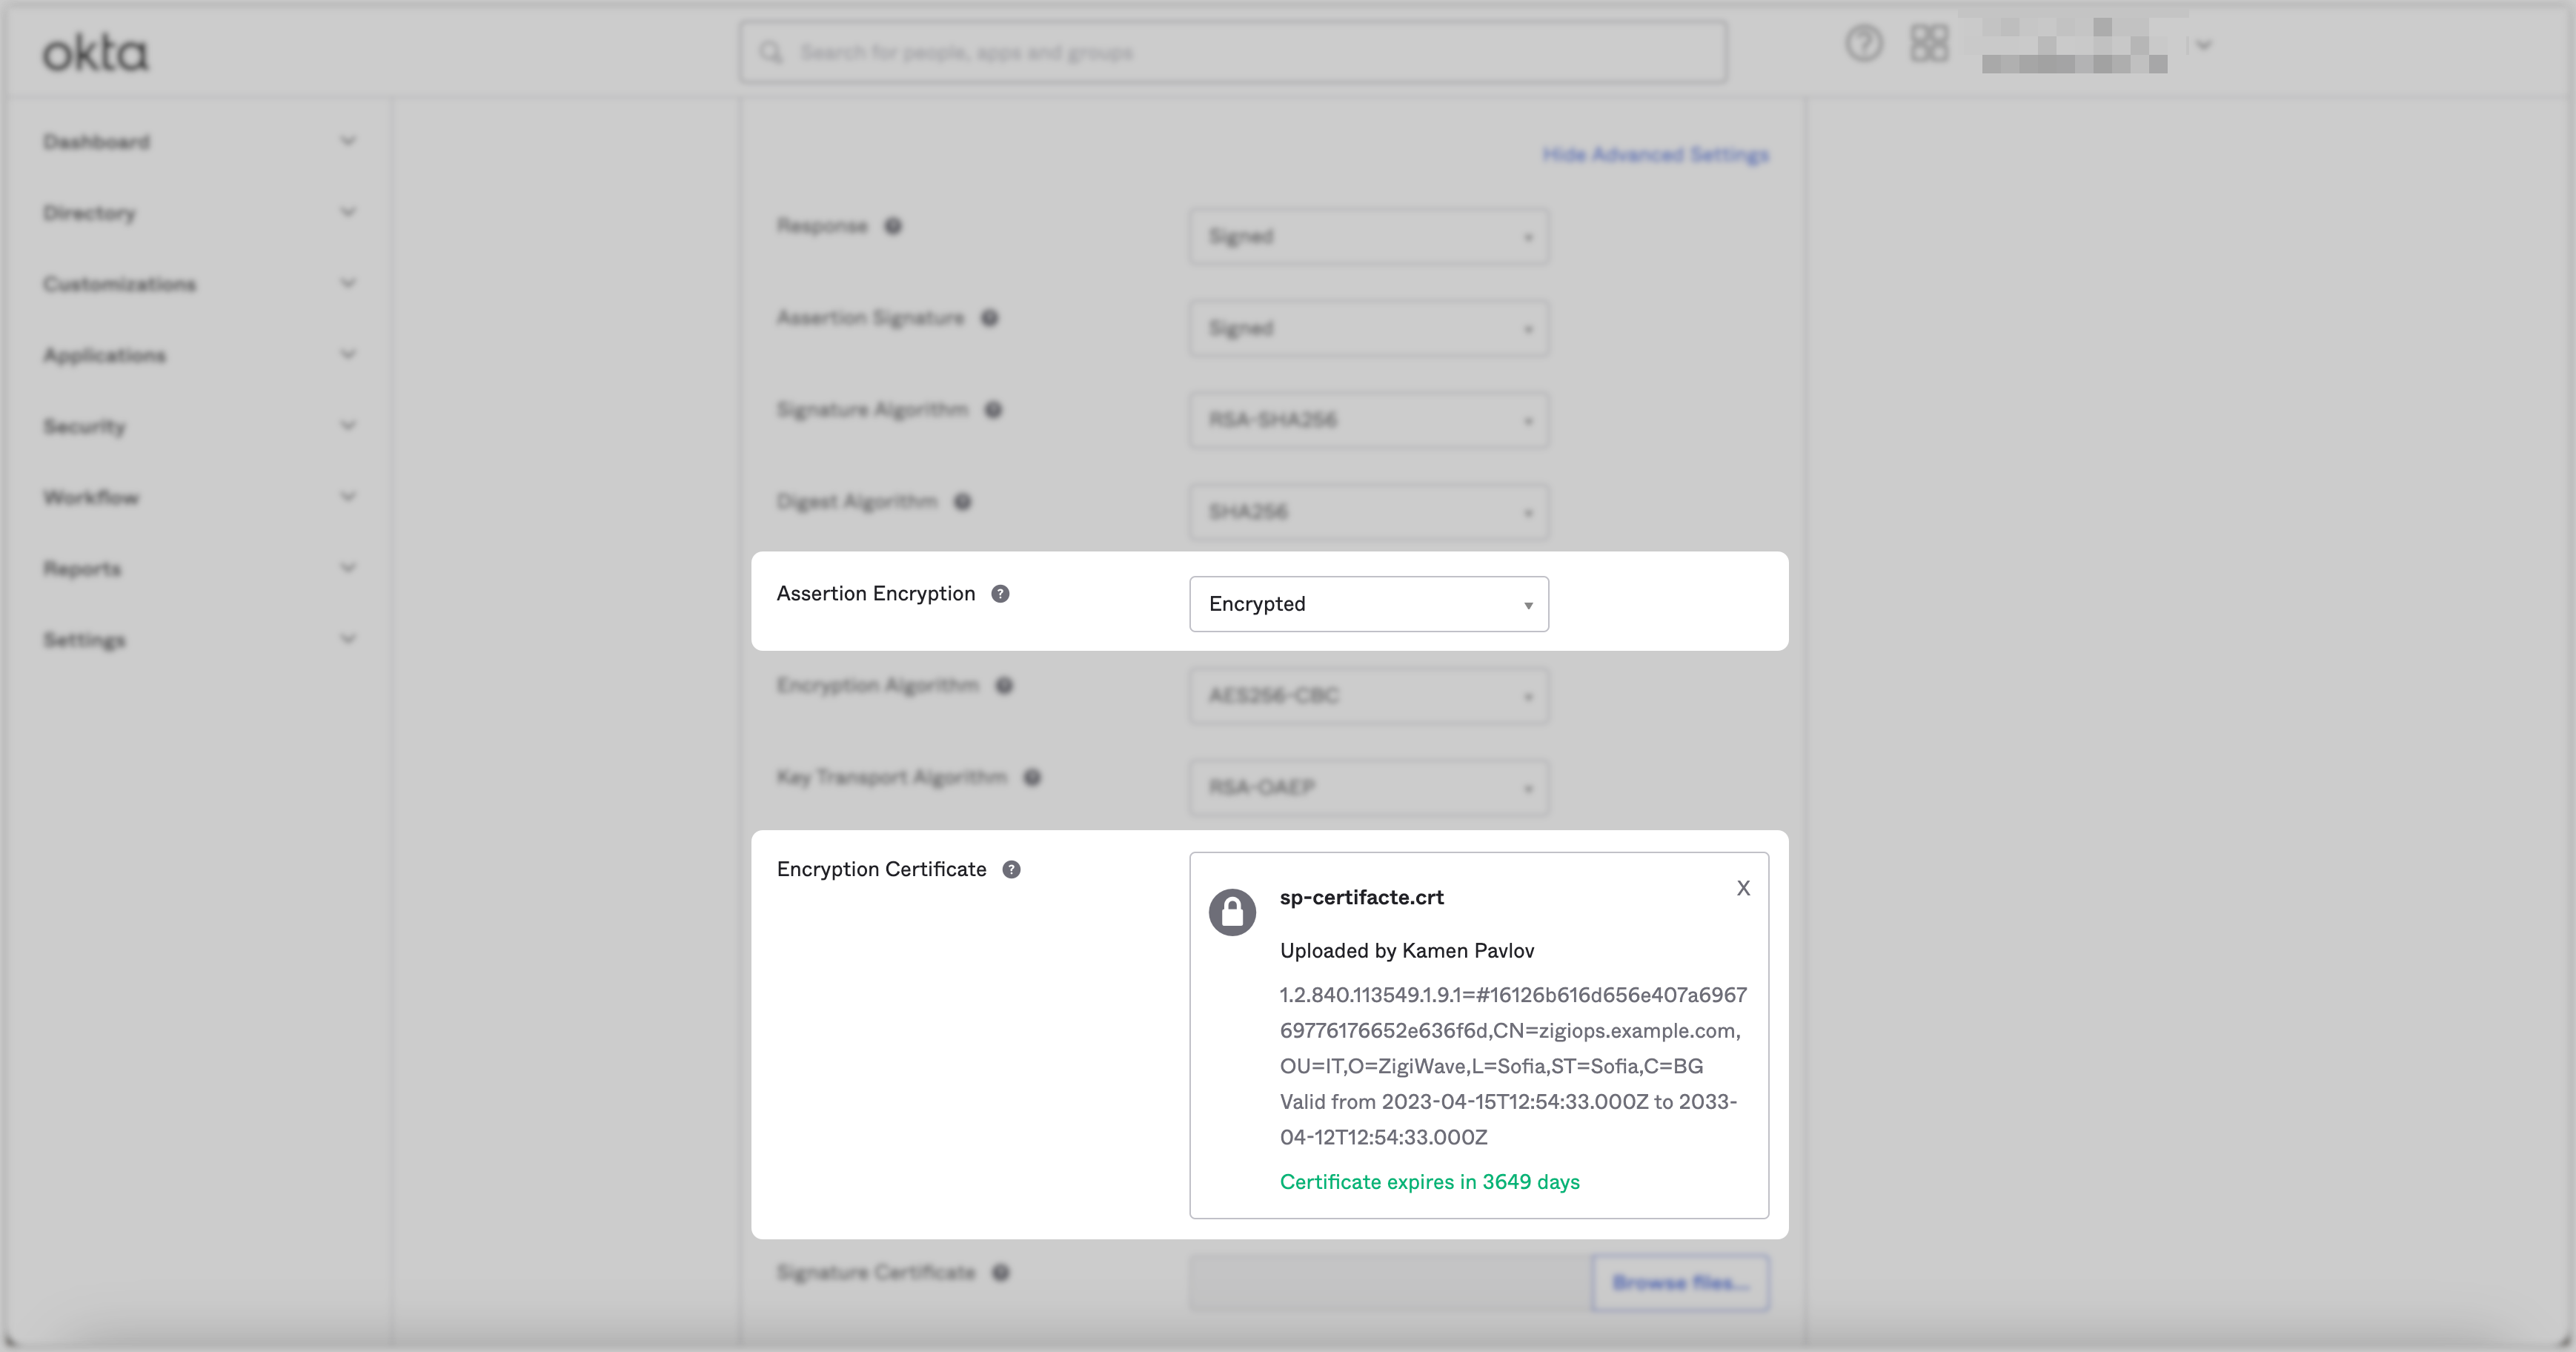
Change the Assertion Encryption setting to
Encrypted.For the Encryption Certificate setting, you should upload an SSL certificate issued for the ZigiOps' FQDN.
In a contained environment, you can issue an SSL certificate for the encryption by utilizing OpenSSL.
You can use the following command as an example to create the certificate:
openssl req -x509 -nodes -sha256 -days 3650 -newkey rsa:2048 -keyout sp-private.key -out sp-certifacte.crt.
Scroll down and click the Preview the SAML Assertion button, which becomes available after a user is assigned to the application.
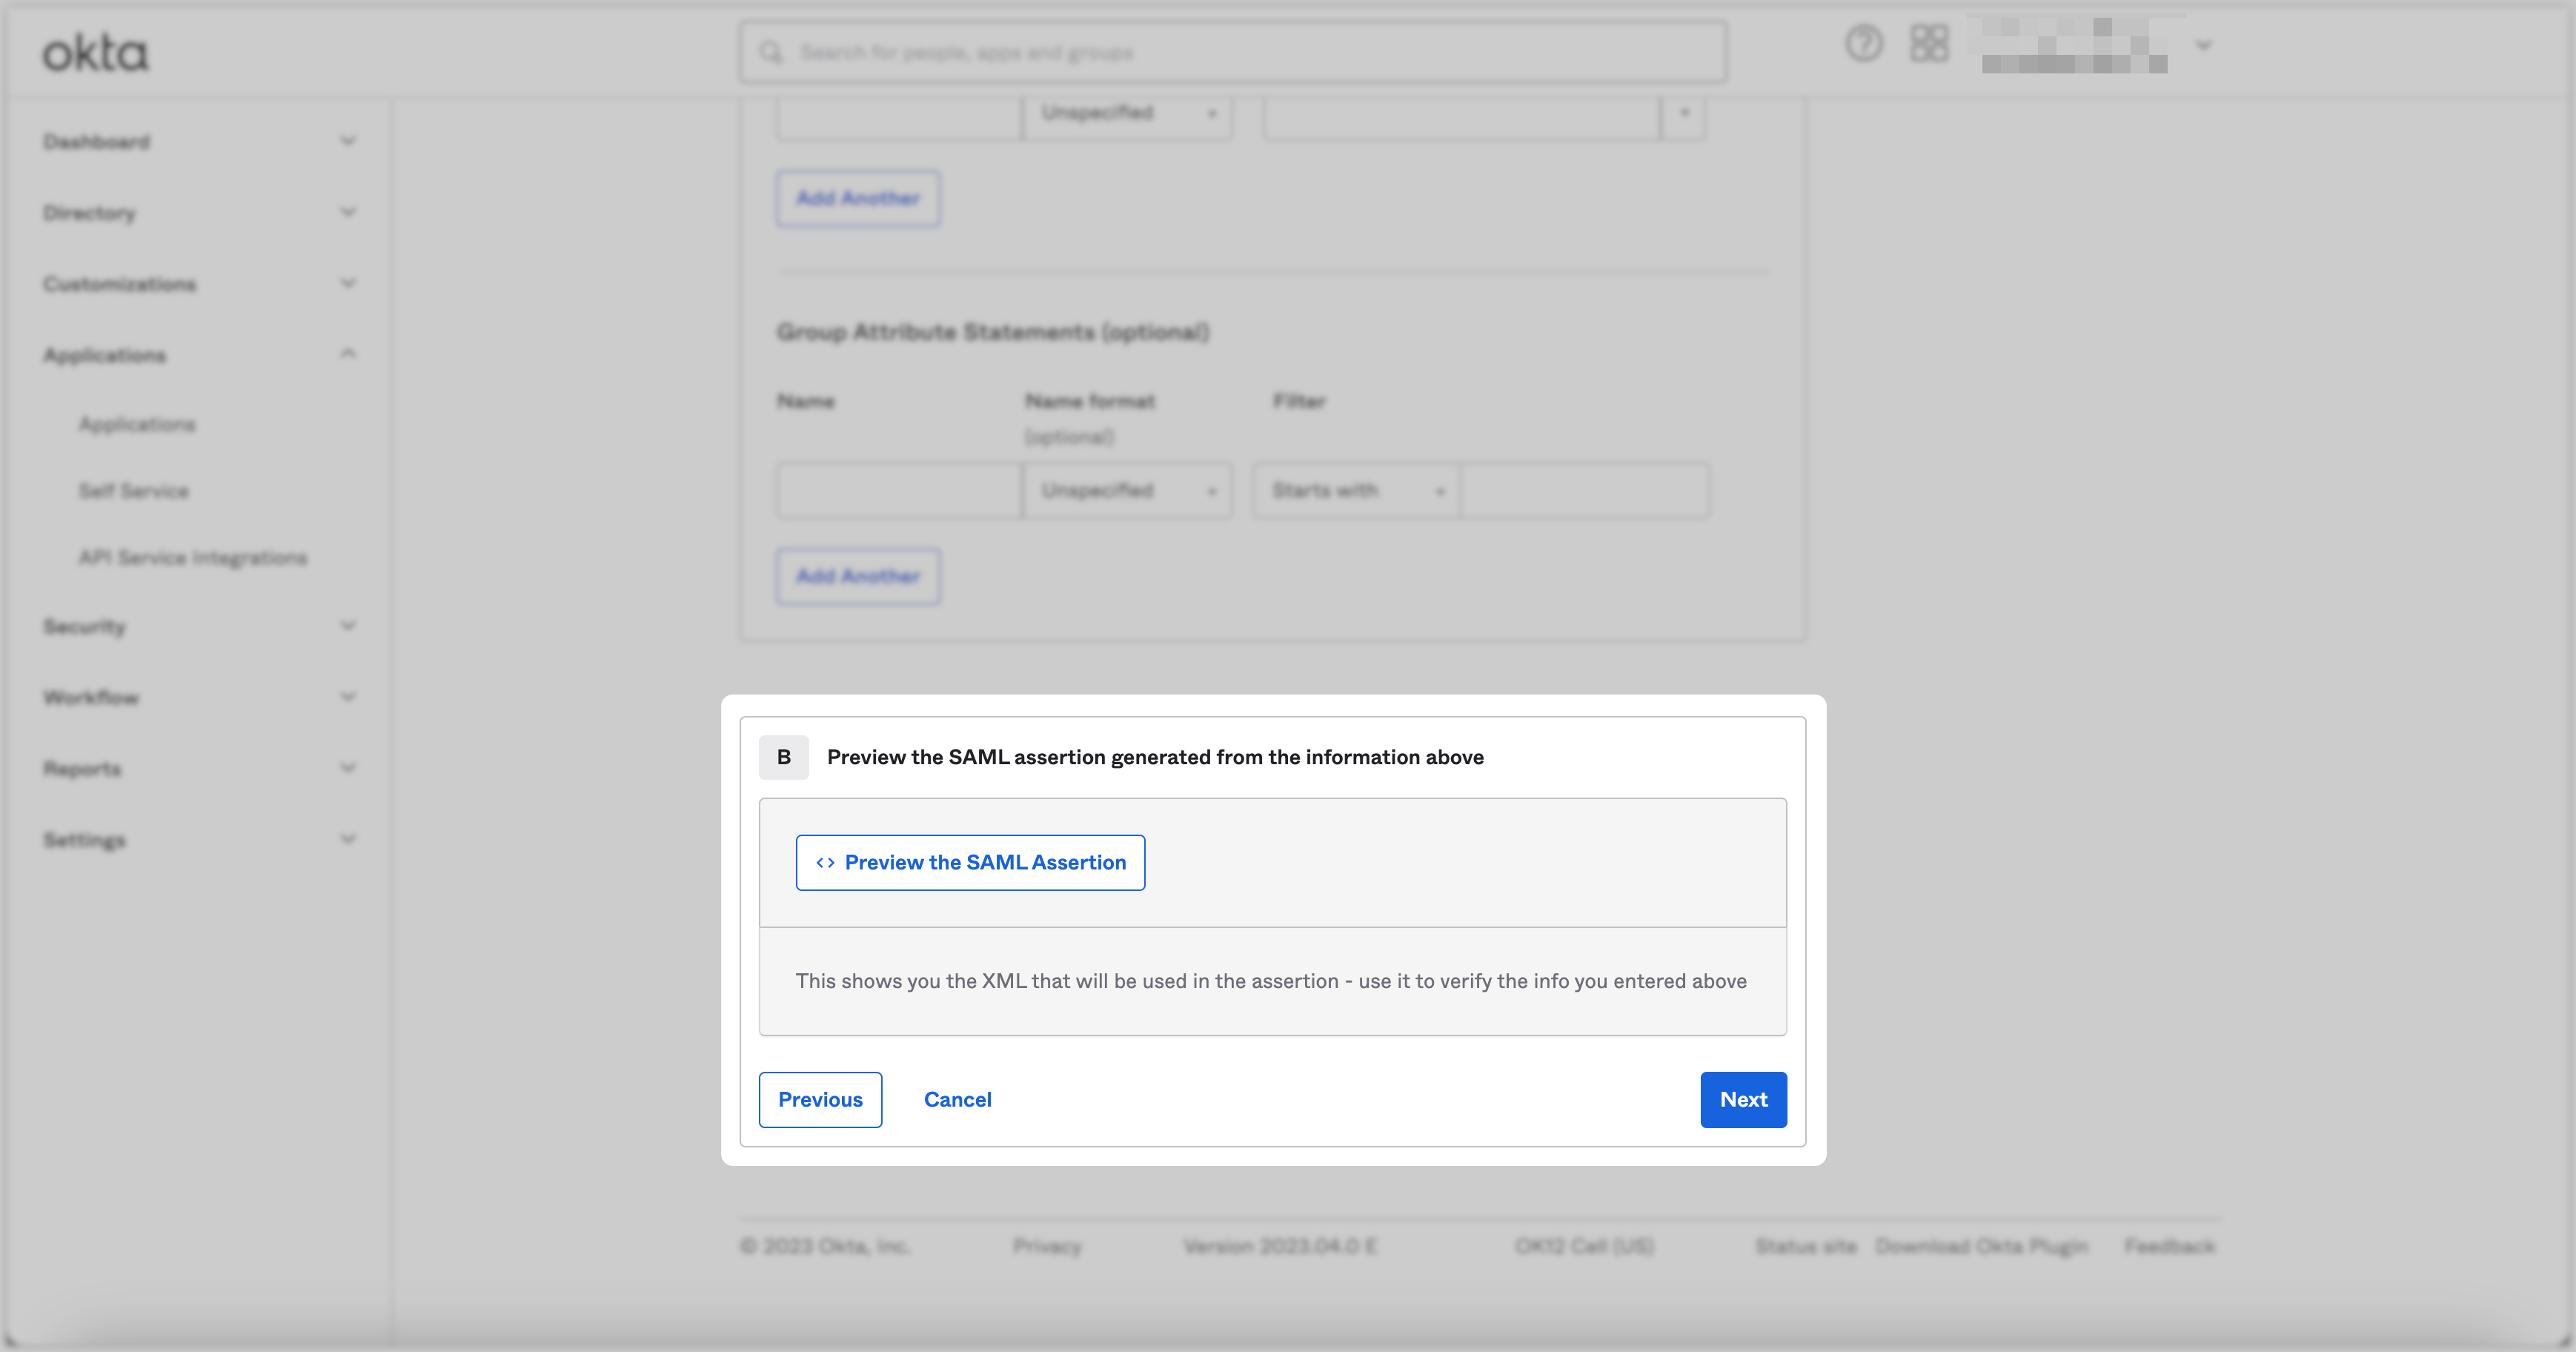
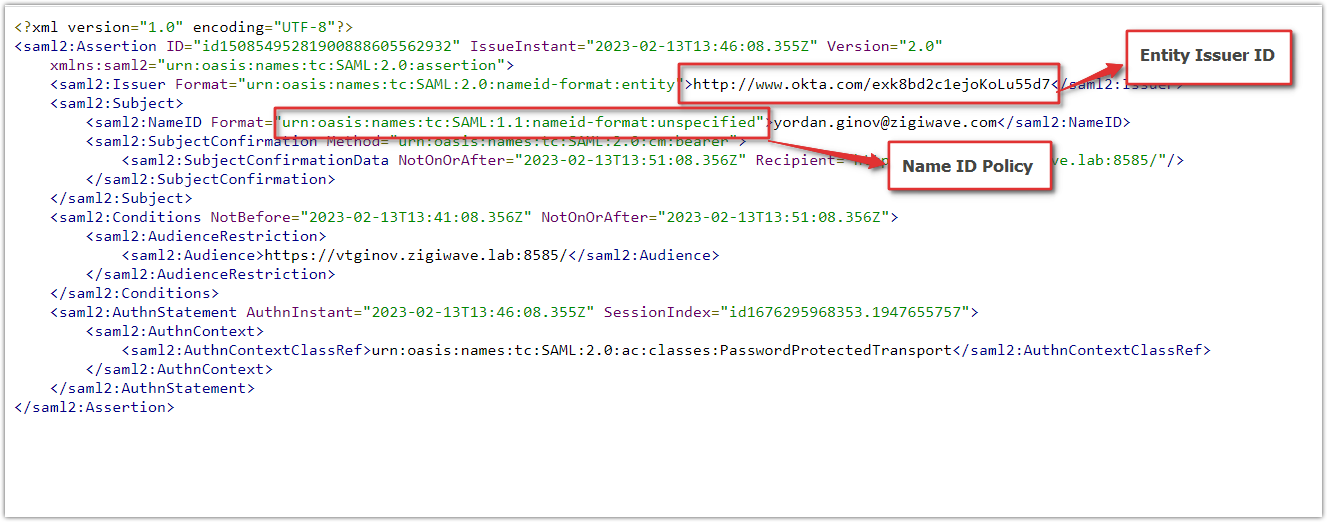
Retrieve the required data from the generated XML document, which is needed for ZigiOps to connect to OKTA.
Finalize the application setup.
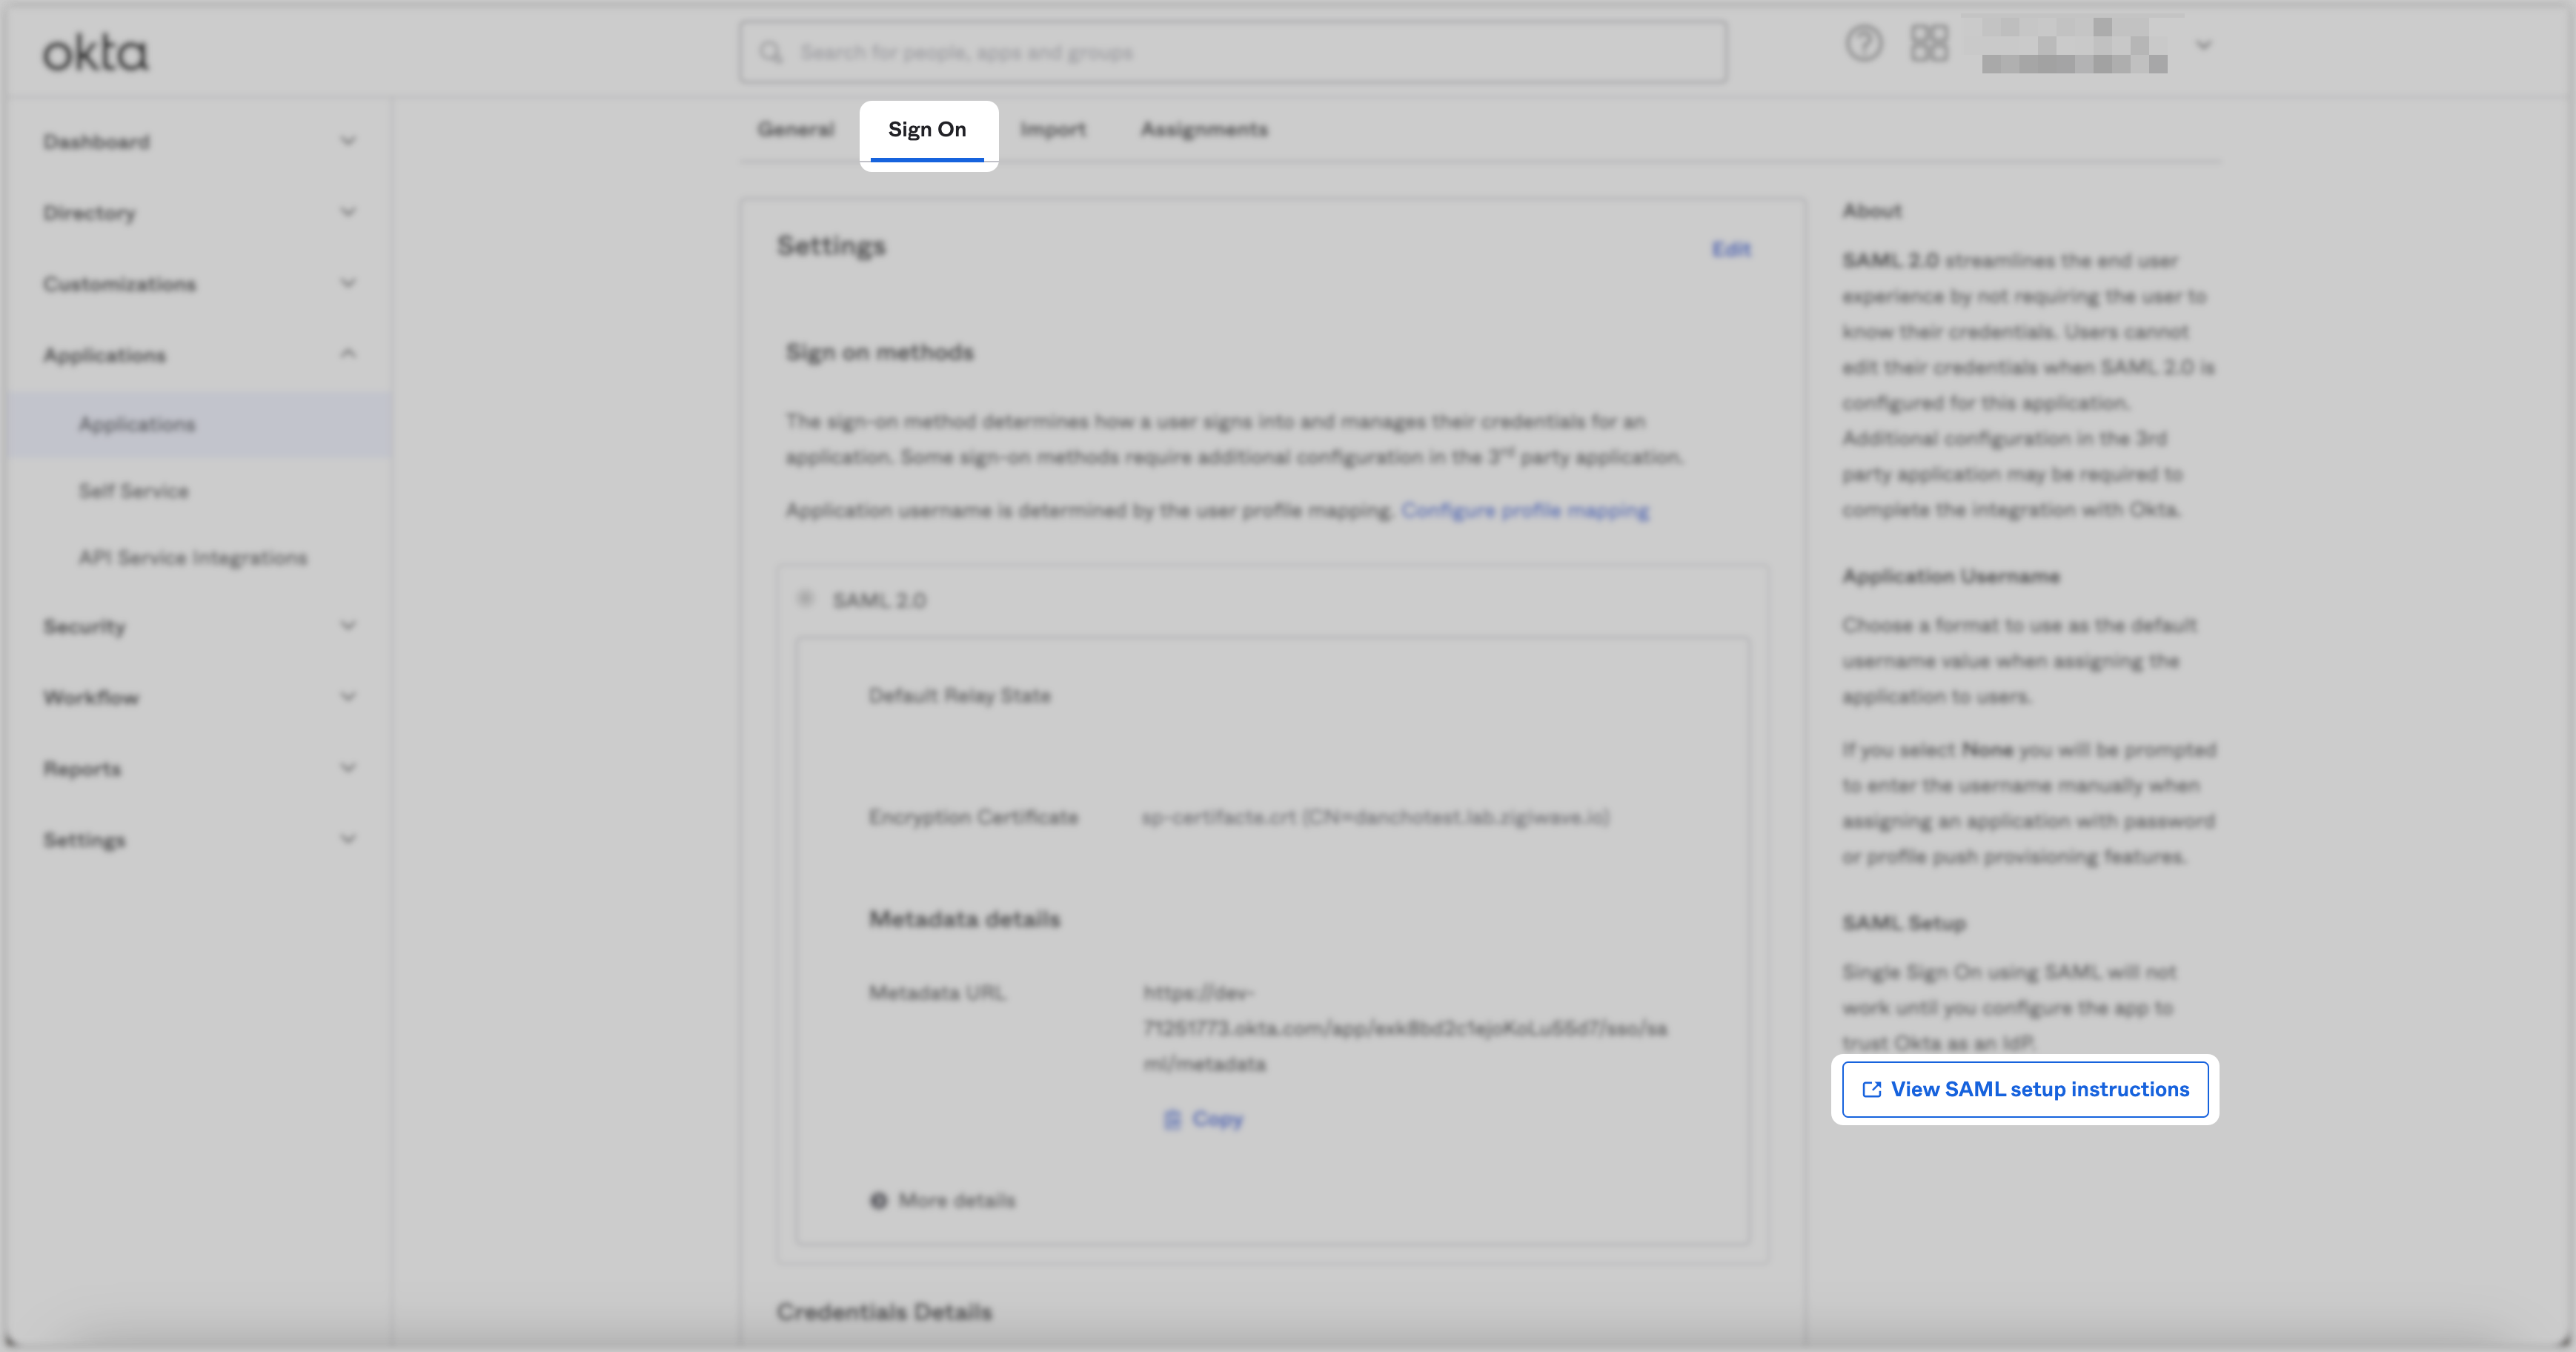
Open the newly created application, navigate to the Sign On tab, and click the View SAML Setup Instructions button.
Copy the Identity Provider Single Sign-On URL value from this page. For example,
https://example.okta.com/app/exampleAppName/exampleIssuer/sso/saml. Copy the Identity Provider Issuer value from this page. For example,http://www.okta.com/exampleIssuer.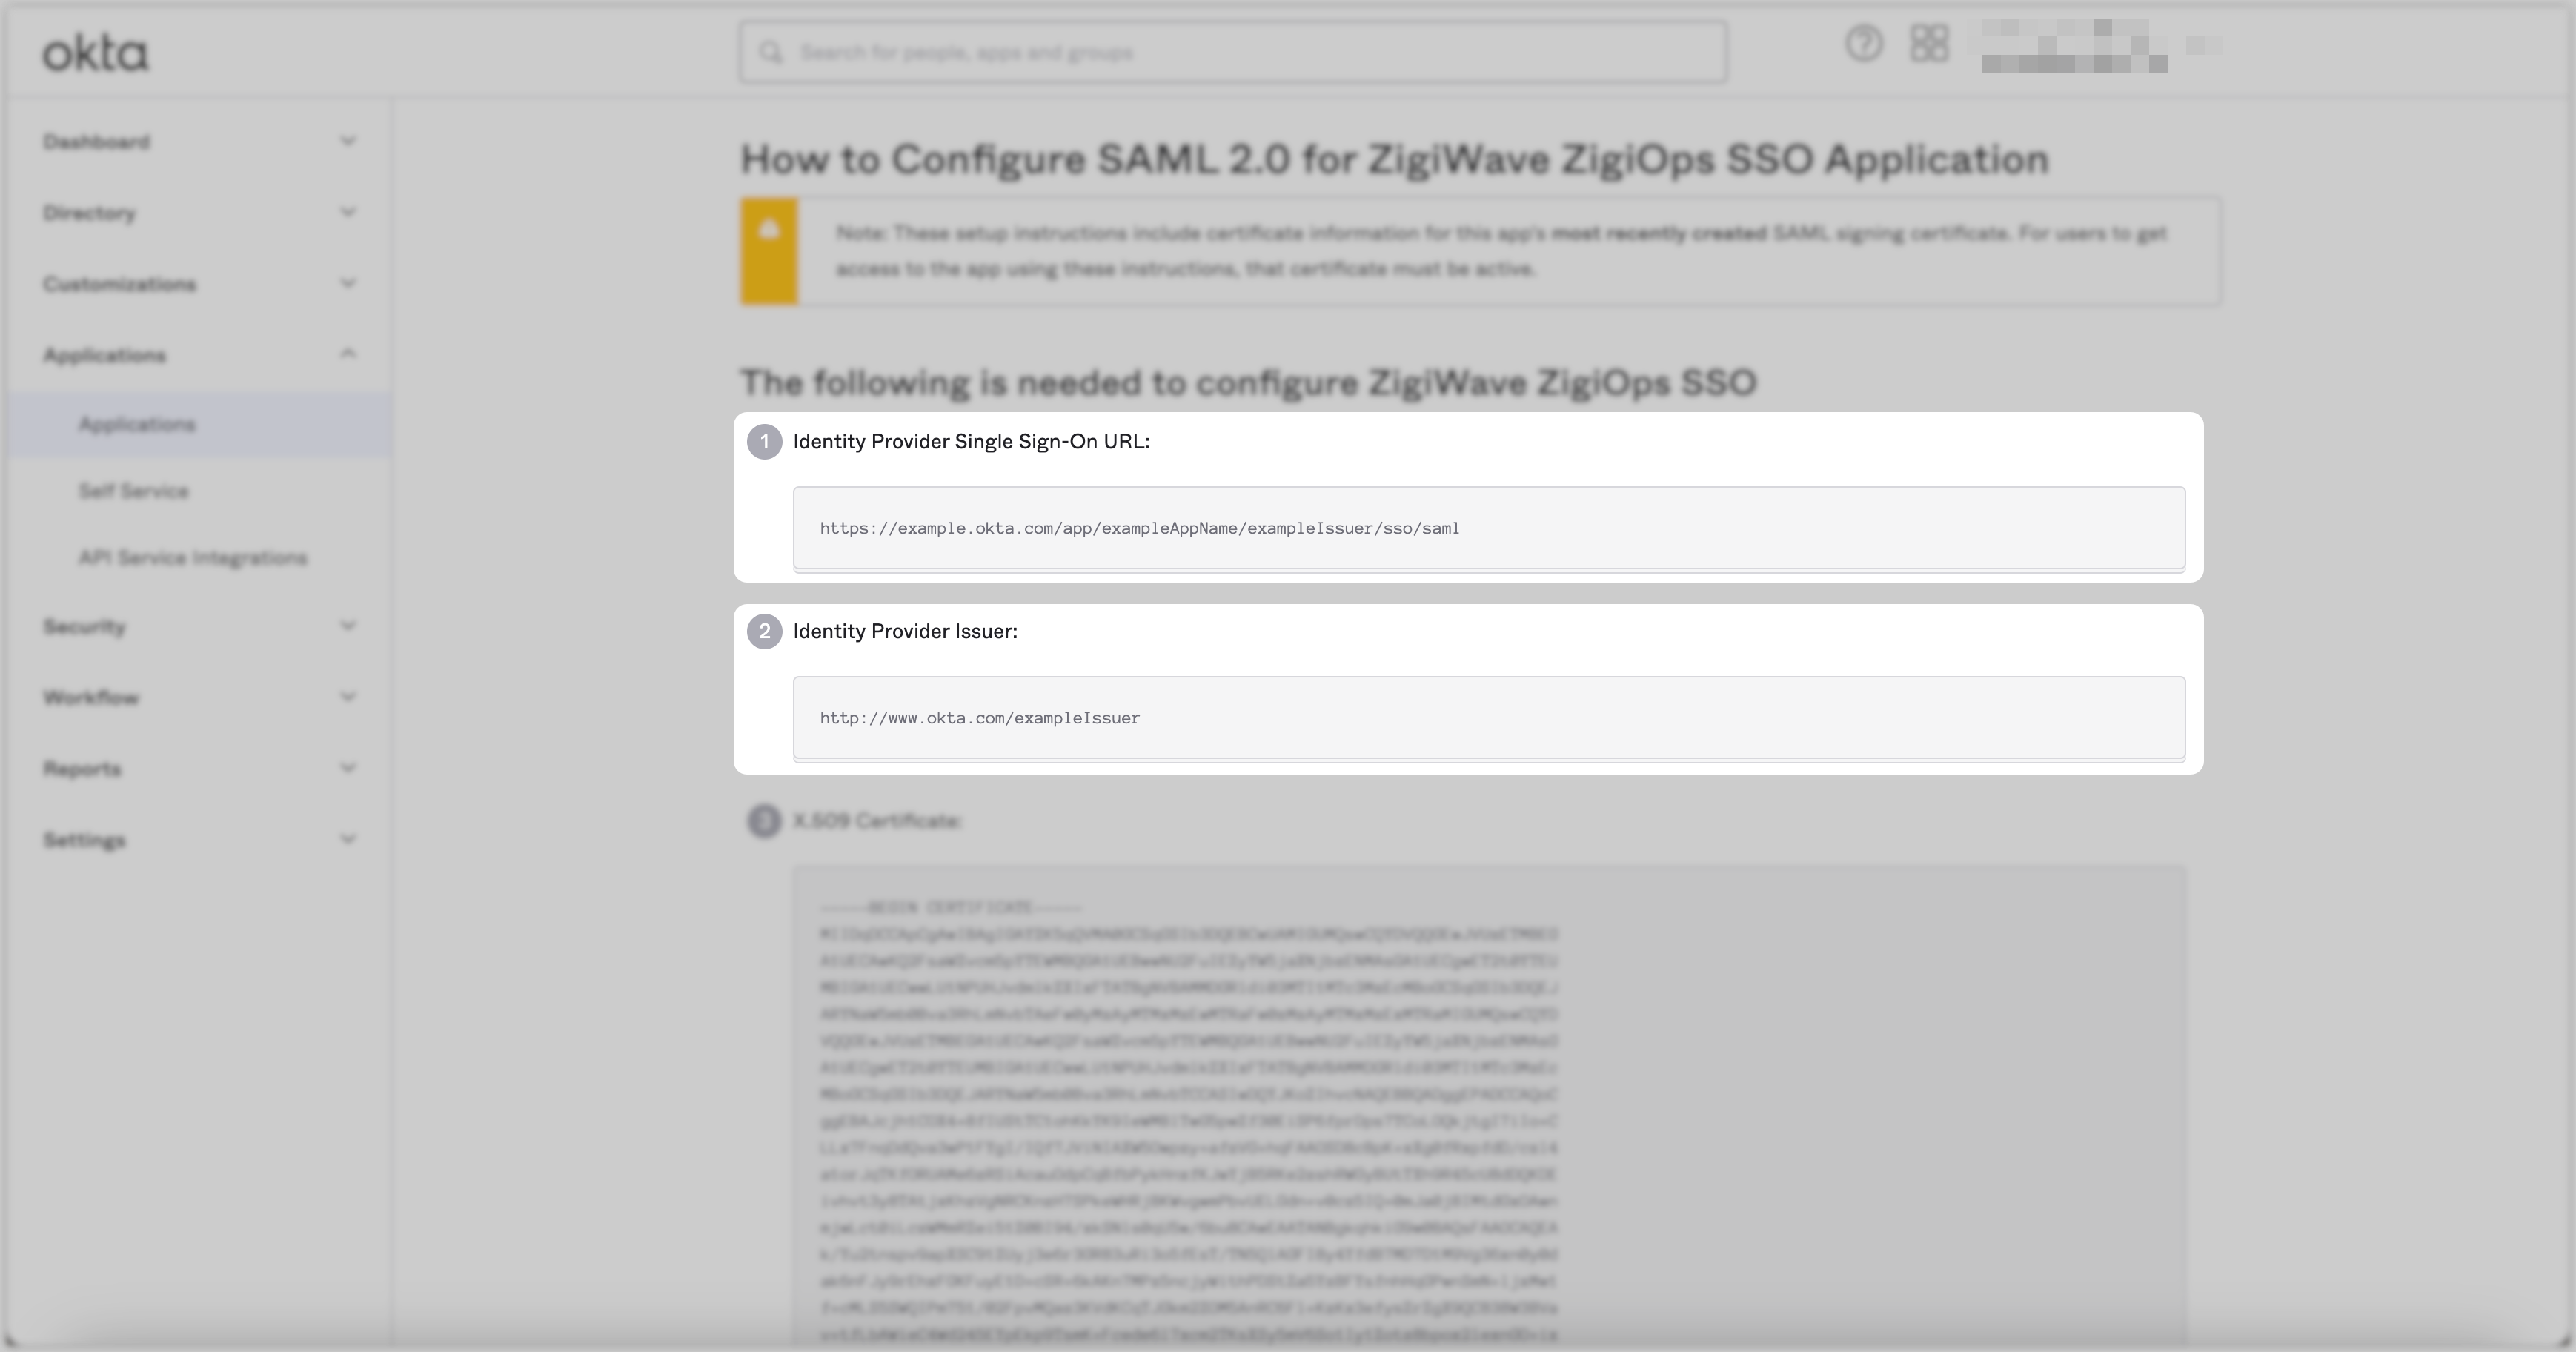
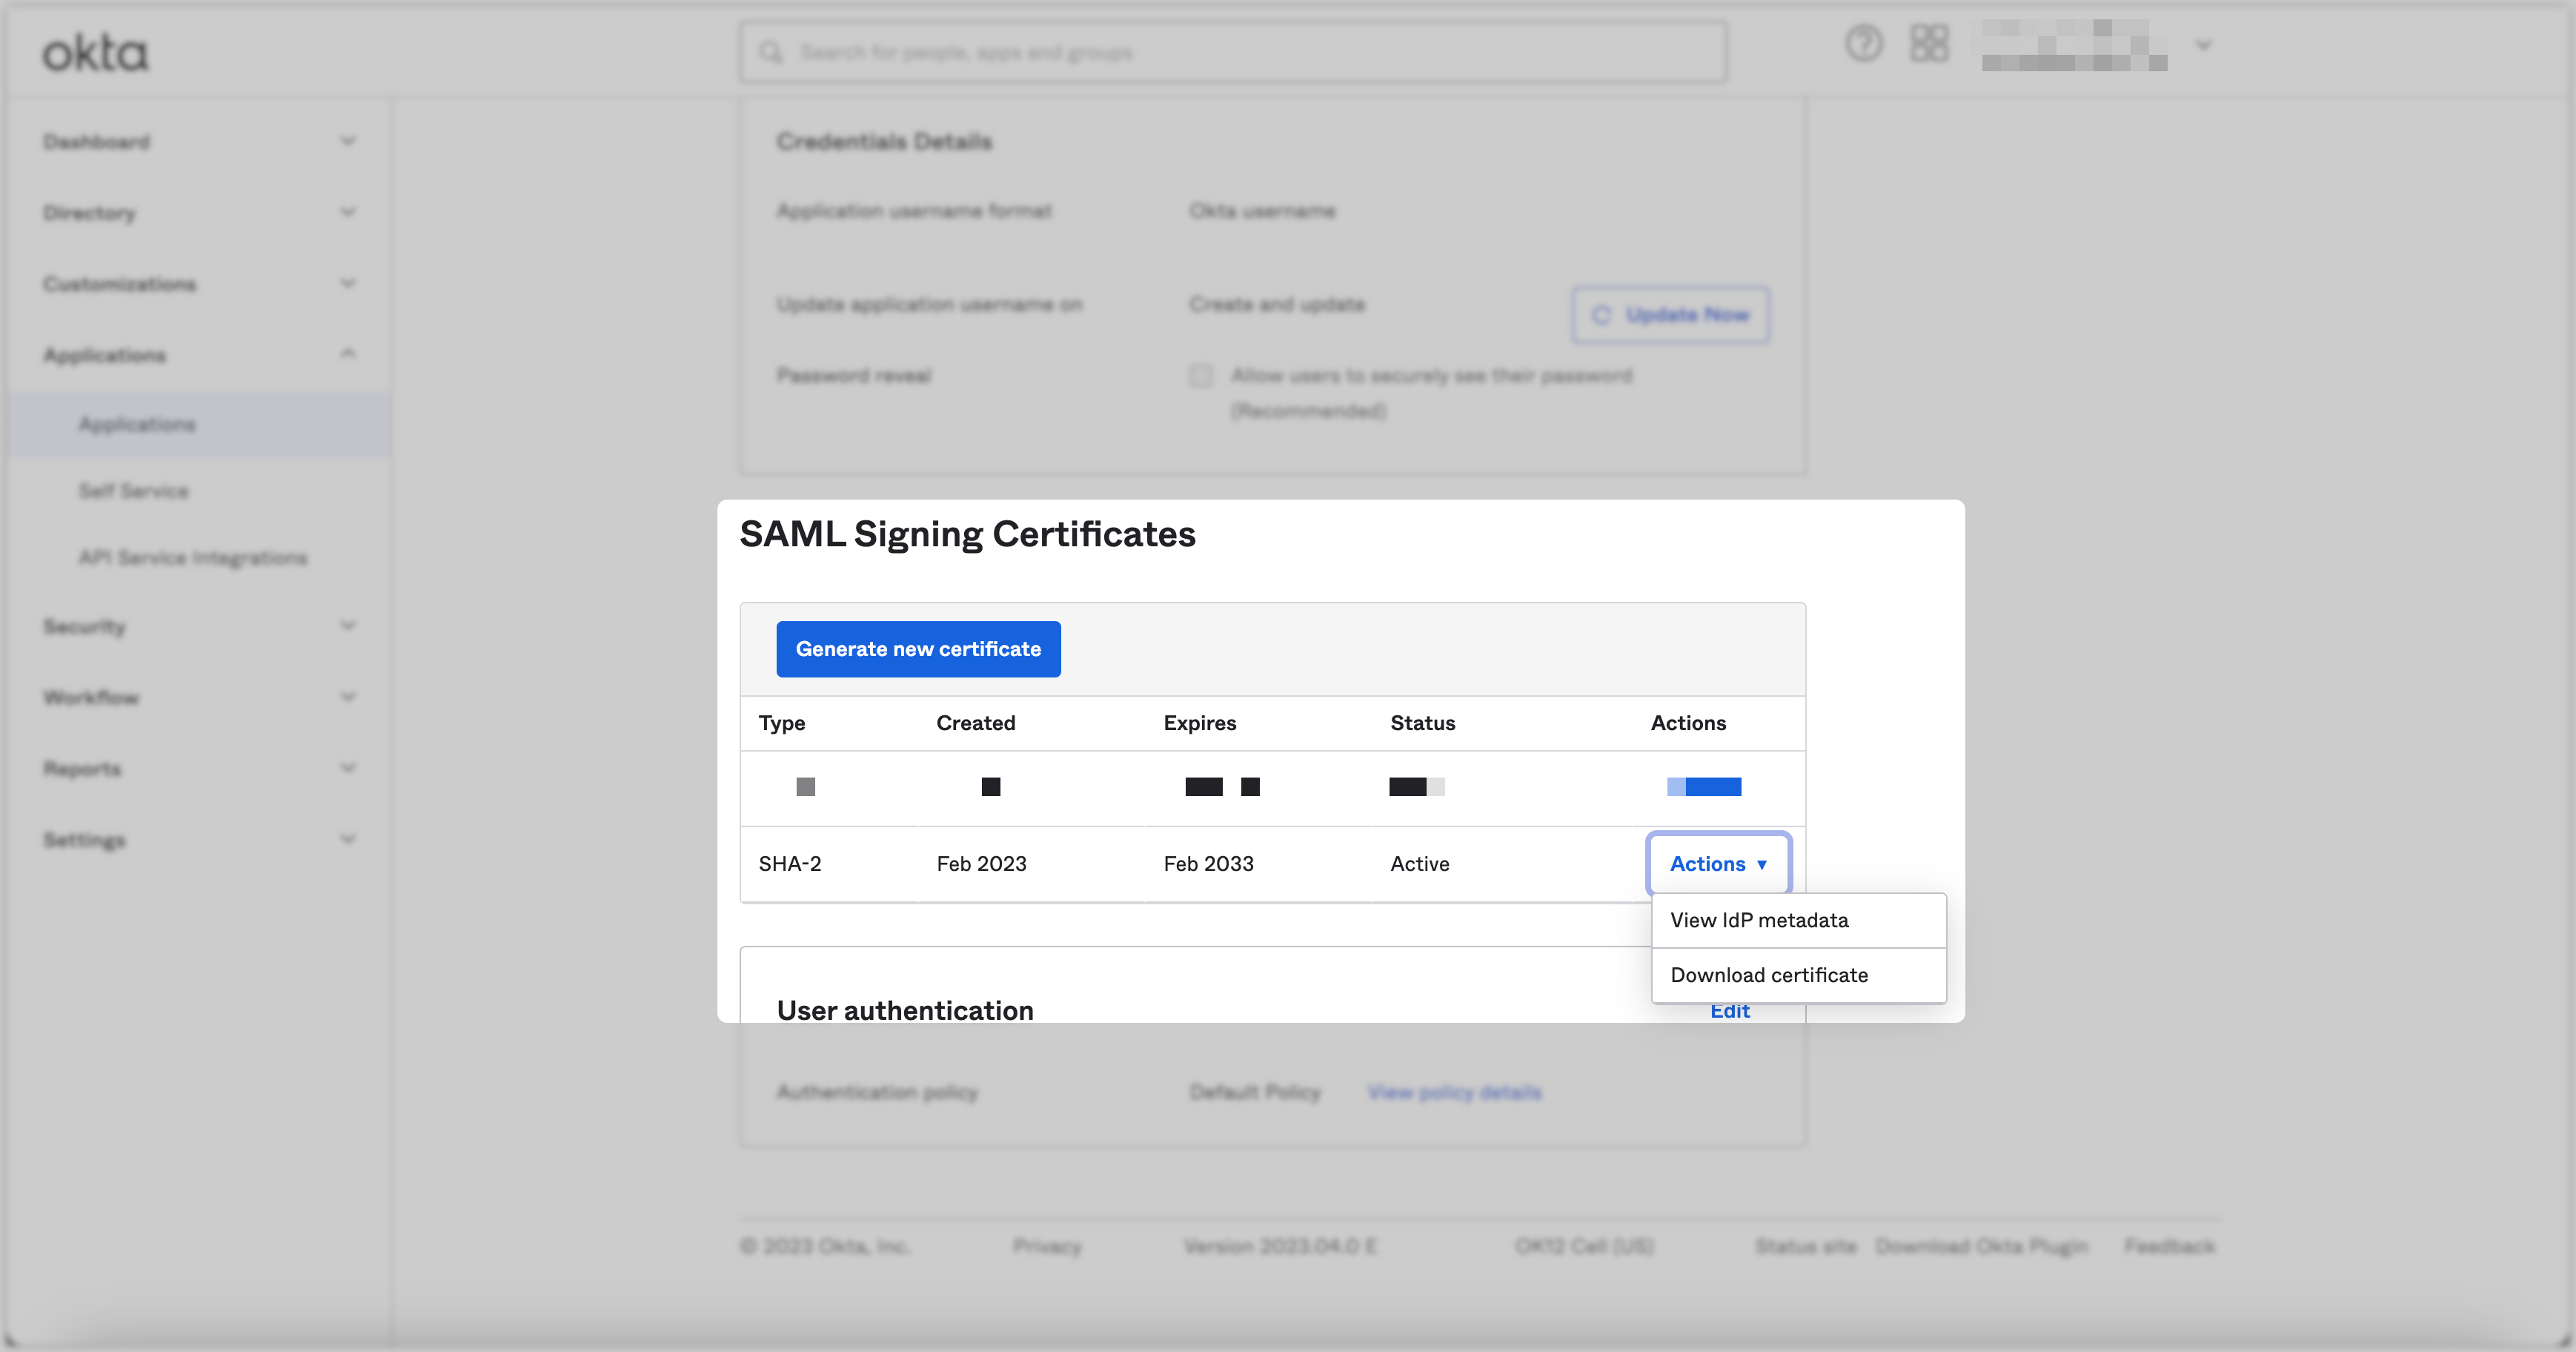
Go back to the Sign On tab and scroll down to the SAML Signing Certificates section; click the Actions → Download Certificate button to download the certificate, which should be uploaded to ZigiOps later.
Part 2 - Set up the SSO in ZigiOps
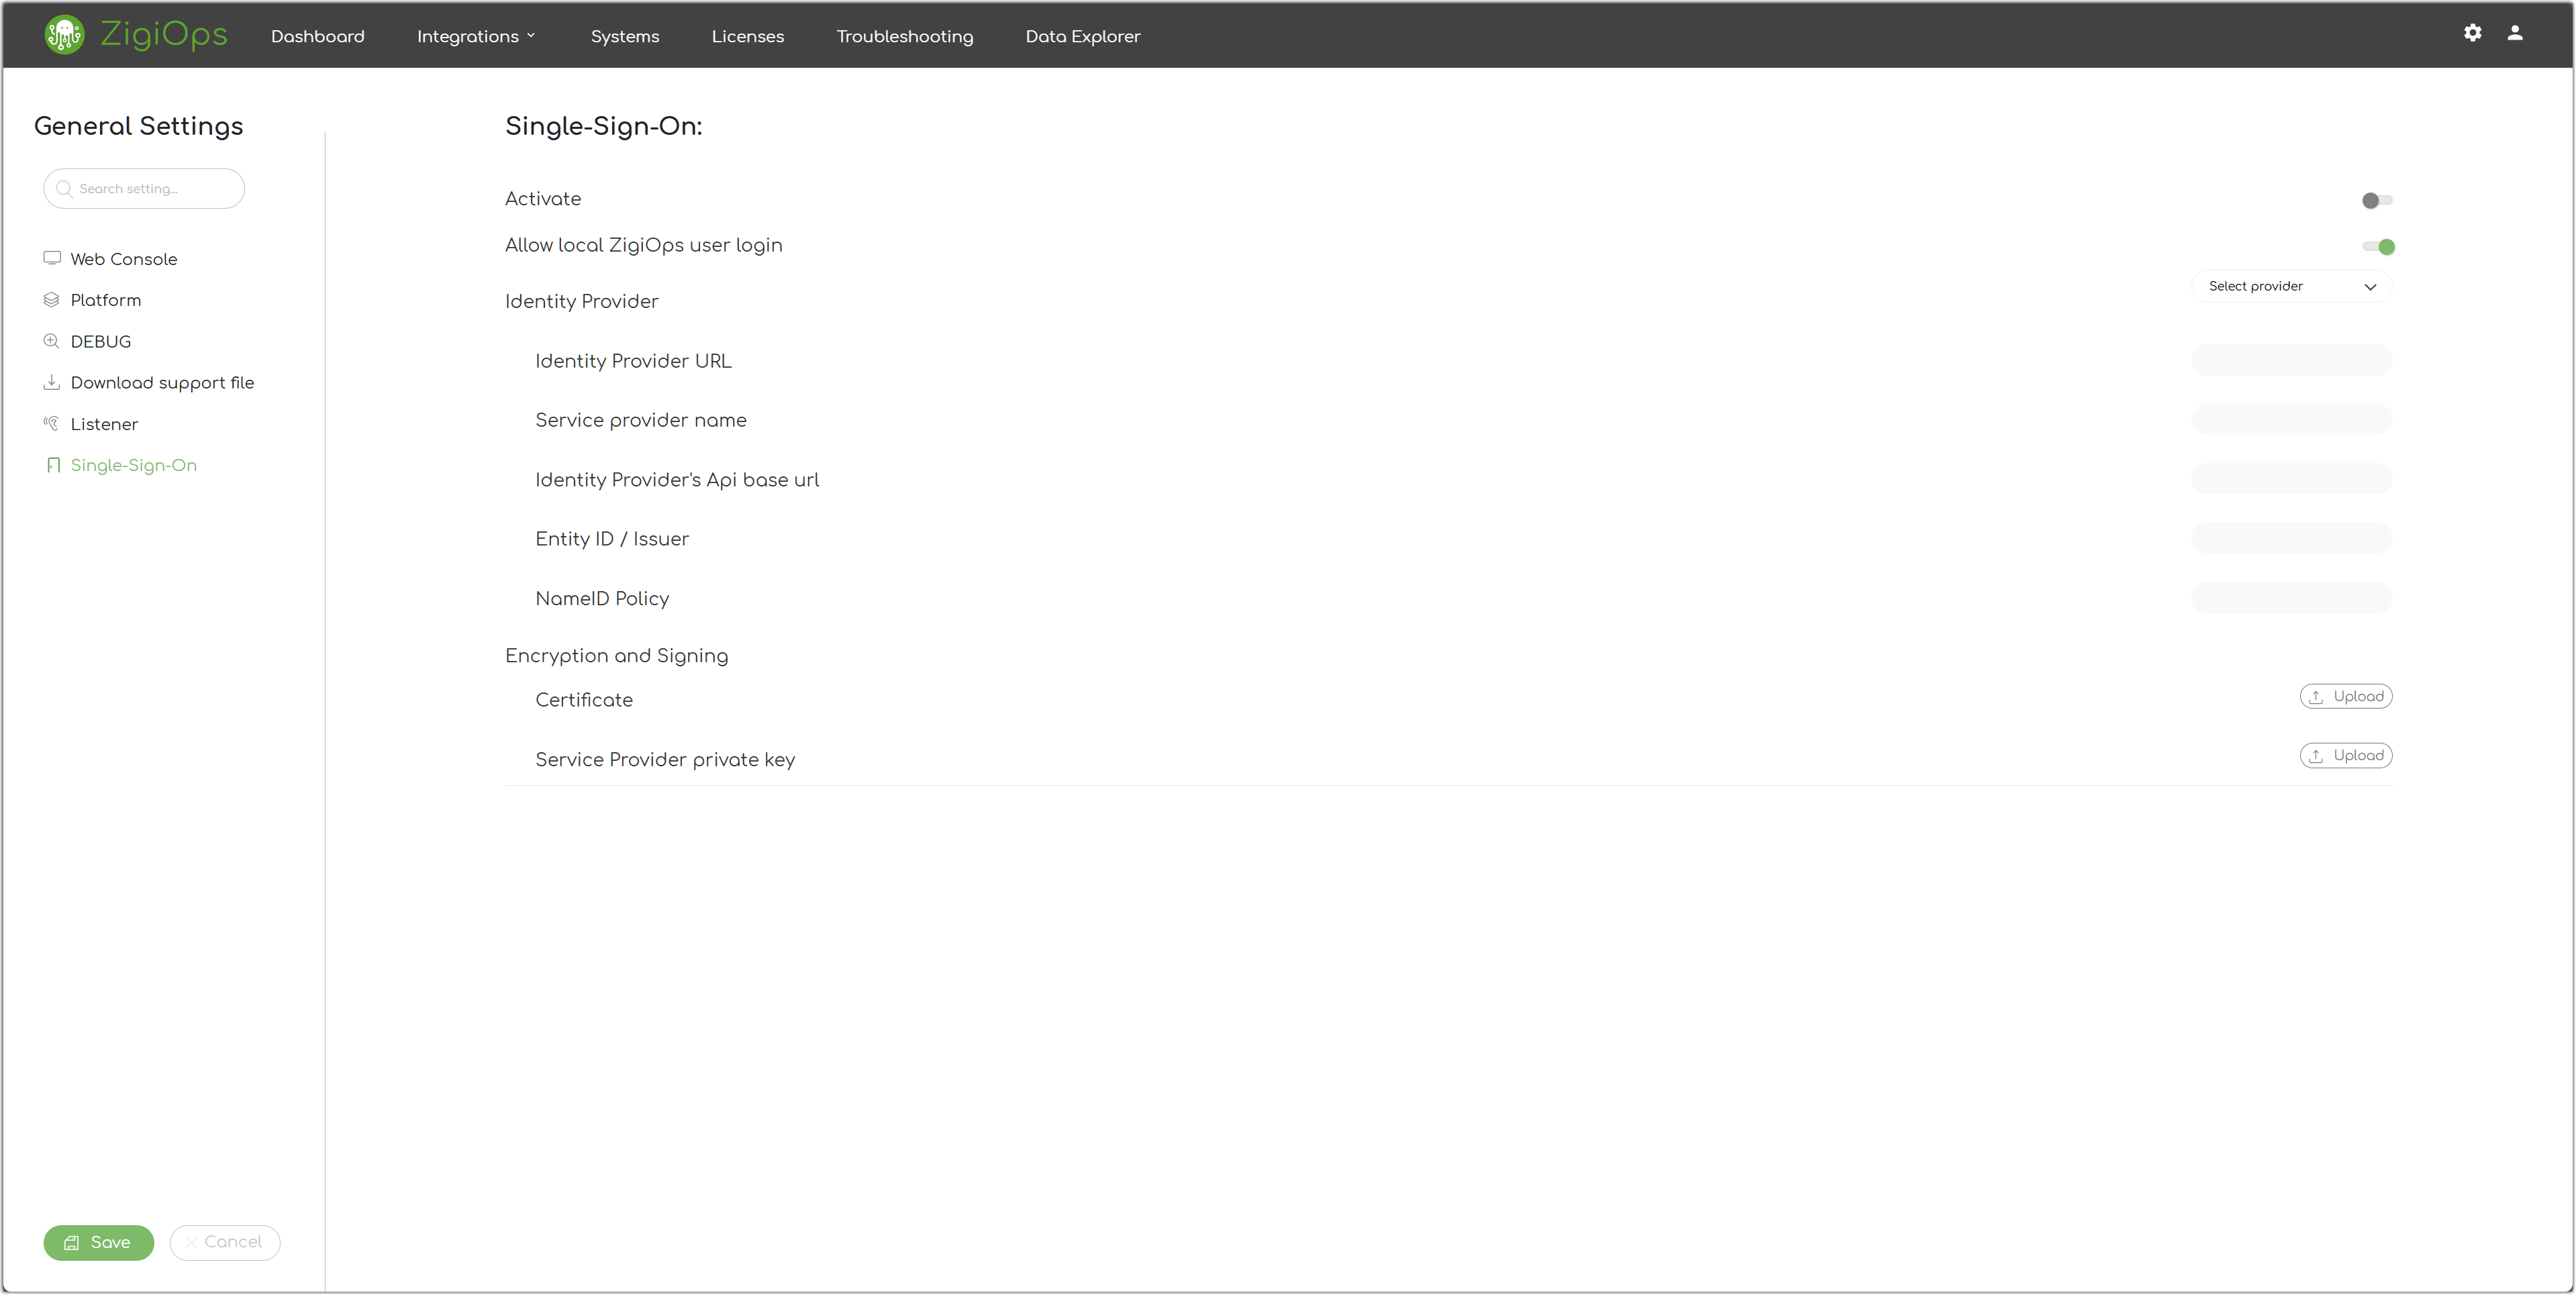
Log in ZigiOps and navigate to the General Settings → Single Sign-On menu.
Use the data obtained by OKTA to configure the ZigiOps SSO settings.
Activate - Enable this option.
Allow local ZigiOps user login - Enable or leave this setting enable per your personal preference.
Identity Provider - Select
OKTAfrom the drop-down menu.Identity Provider URL - Input the Identity Provider Single Sign-On URL. For example,
https://example.okta.com/app/exampleAppName/exampleIssuer/sso/saml.Service Provider Name - Input the application name you created in OKTA earlier. For example,
ZigiWave ZigiOps SSO.Identity Provider's API Base URL - Input the identity provider's single sign-on URL. For example, if the identity provider's single sign-on URL is
https://example.okta.com/app/exampleAppName, then the identity provider's API base URL will behttps://example.okta.com.Entity ID / Issuer - Input the entity's issuer ID or identity provider's issuer. For example,
http://www.okta.com/exampleIssuer.Name ID Policy - Input the name ID policy from the OKTA's SAML Assertion XML.
Certificate - Upload the OKTA certificate you downloaded earlier.
Service Provider Private Key - Upload the service provider's private key you generated earlier.
